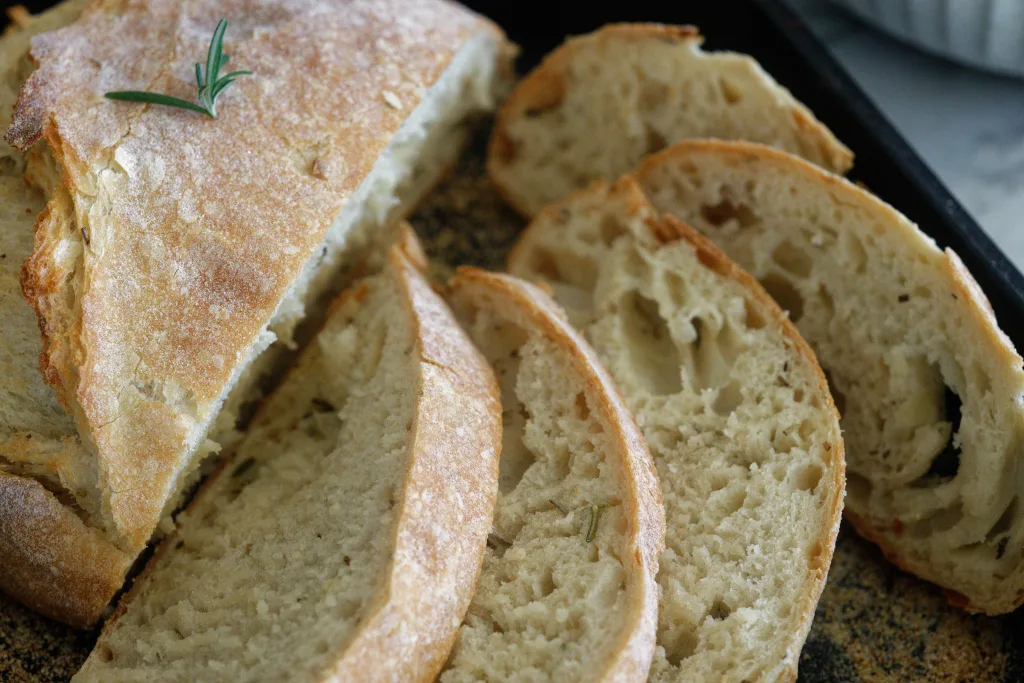
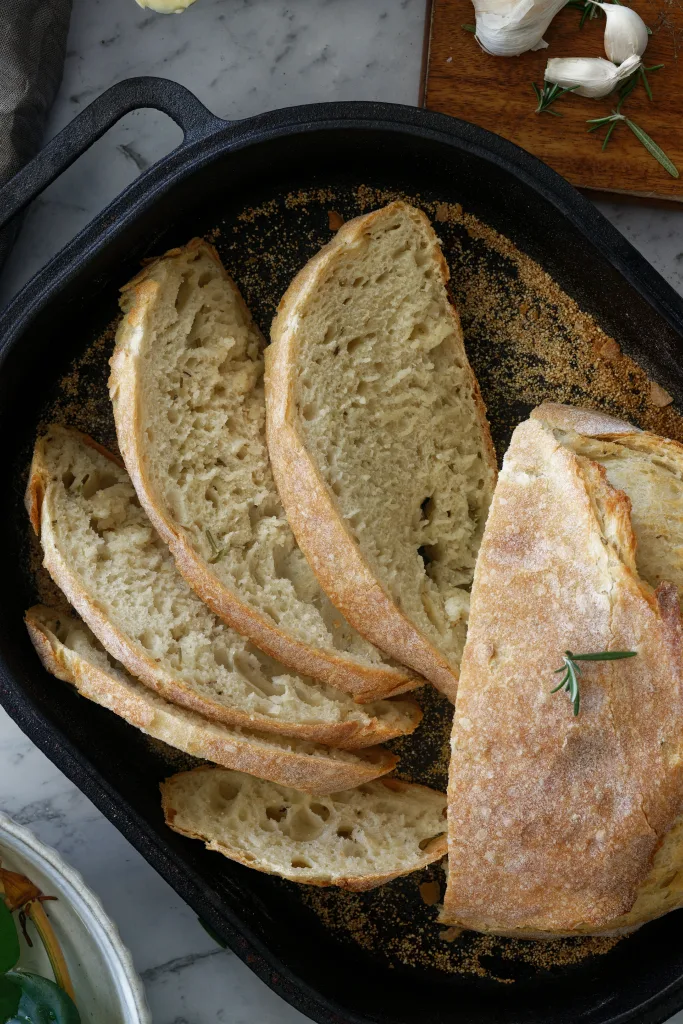
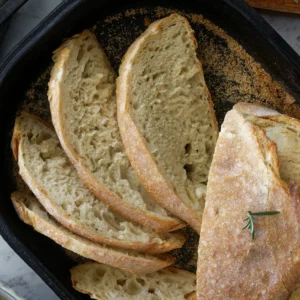
Ever wanted to bake your own amazing loaf of bread but kinda nervous? This Rosemary No Knead Bread recipe is SO easy, you’ll be shocked. A rustic style loaf that is wonderfully soft on the inside with a golden brown crust and fragrant aroma of garlic and rosemary.
Why this recipe is amazing
Flavour & texture: A mouth-watering match made in heaven of garlic and rosemary with the bready flavour we all love. Slightly chewy crust with a soft, light interior.
Difficulty: 2/5. This recipe is really simple just mix, proof, shape and bake.
Time: 14-18 hours. The long time is needed to develop the structure so that you don’t have to knead it.
Versatility: You can add extra herbs in place of the rosemary. Try olives, seeds etc
What ingredients are needed:
Bread or plain flour: Bread flour is recommended due to its higher protein (more gluten) levels which leads to a stronger structure and chewier texture. Plain, all-purpose flour is certainly okay for this recipe but your bread will be significantly lighter and missing the characteristic chewy texture.
Instant yeast: Only a small amount is needed as that yeast will then feed on the starches in the flour to keep it alive. Instant yeast is stronger, faster and more stable than dry yeast but you can substitute with what you have, you may need to check the conversions. Learn instant vs dry active yeast.
Warm Water: There is a high percentage of water in this recipe. Water helps create a light, airy, pillowy dough and works to activate the yeast. A temperature of around 41-46°C/110-115°F is ideal but cooler water is okay just ensure that it is not above the aforementioned temperature as it risks killing the yeast.
Salt: A huge part of bread baking but all cooking needs SALT! While enhancing the flavour of all ingredients in the recipe and giving the bread the ‘bready’ flavour we all love, helps to tighten the gluten structure. That strengthening allows the dough to trap and hold more carbon dioxide more efficiently.
Fresh Garlic: Flavour flavour flavour! Fresh garlic contains a chemical called ‘Allicin’ that is activated when chopped, crushed etc. It is what gives garlic its distinct taste and aroma. I prefer to crush cloves with a garlic crusher to increase the amount of allicin as much as possible
Fresh rosemary: Again, fresh is best with the aroma of the delicious rosemary oils becoming much more fragrant when heated. If you have a small space, grab a little pot plant of rosemary, it’s super hardy, needs minimal water, will make your food yummy and smells amazing.

Food Science fun
- How is gluten formed? On a microscopic level, Flour is made up of mainly starch and proteins. When flour comes into contact with water, the main proteins glutenin and gliadin get together and form Gluten. Kneading causes the proteins to rub against each other, causing them to untangle, join together and trap carbon dioxide.
- What is No Knead dough? No-knead bread is a bread-making technique that uses a long fermentation (rising) time instead of kneading to form the gluten strands that give the bread its texture and chewiness. Because there is no ‘rubbing’ action to untangle the proteins, we rely on enzymes to break down the long proteins and create shorter ones. Shorter proteins are then easier to untangle and join together to create gluten.
- This process is lengthy, therefore recipes that are ‘no-knead’ need a long proof time and a lower level of yeast to ensure that the web-like structure is strong enough to eventually hold the carbon dioxide. If it were to prove too quickly, there would not be enough gluten to trap the air and it would be dense.
- Dutch oven = Steam = Better bread! Steam is so important during the initial ‘oven-spring’ period. The starch on the surface gelatinises and then remains that way if the loaf remains moist therefore it can expand easily, leading to larger, airier loaves. Buuut too much moisture, throughout the bake can create a crust that is too thick and crunchy. You just want enough for the bread to rise in the initial rise then as the temperature increases, the yeast dies and the loaf stops rising we need moisture to taper off and start to harden.

Setting you up for success – Tips, Tricks
- Mix, cover & Proof – It’s basically that simple.
- Make sure your yeast is alive and active: I always recommend proofing instant yeast just the same as you would with dry active yeast. I’d rather you take 5 minutes to see bubbles than realise your bread isn’t rising after 1-2 hours of proofing. It ultimately saves time and money so you don’t waste ingredients (PSST, don’t know the difference between Instant and Dry active yeast? Check my post on yeast). If your yeast isn’t bubbly, ensure your water wasn’t too hot (= you’ve killed the yeast) or too cold (=slow yeast and need more time).
- Properly measure the flour: When measuring the flour, it’s important to use the correct method. Spoon the flour into the measuring cup and level it off with a knife. Avoid packing the flour or tapping the cup, as it can lead to too much flour and affect the texture of the bread.
- Use fresh rosemary: Fresh herbs tend to have a more vibrant flavour than dried ones. Make sure to use fresh rosemary for the best taste. You can finely chop the rosemary to distribute its flavour evenly throughout the bread.
- Adjust the rising time: The given recipe suggests refrigerating the dough for 14-18 hours. However, you can experiment with the rising time to achieve the desired flavour and texture. A longer rising time can enhance the flavour and develop a more complex taste.
- Be patient during the second rise: The second rise allows the dough to proof and develop a light and airy texture. Ensure the dough has doubled in size before baking. You can perform the finger poke test as mentioned in the recipe to check if the dough is ready.
- Use a preheated Dutch oven or dish with a lid. This creates an environment that can retain heat which leads to increased oven spring, crust development and structure. Overall, helps replicate the conditions of a professional bread oven in a home kitchen, leading to improved crusty crust, better rise, and texture in your bread.
- Experiment with variations: Once you’re comfortable with the basic recipe, feel free to experiment with different herbs, spices, or even additions like grated cheese, olives, or sun-dried tomatoes. This can add extra flavours and create unique variations of the no-knead bread.
- Score your bread: Scoring isn’t just for pretty decoration, it creates a specific location for steam to escape rather than it bursting out anywhere it pleases. It prevents the loaf from rising to its full glory rather than being constricted. You want to go about 0.6 cm/ ¼ inch deep but be aware at the end of the day, the loaf has a mind of its own and results will surprise you.
FAQs: Frequently Asked Questions
No way! Use plain all-purpose if you have it handy. Bread flour just gives a nice chewiness and added structure when baked.
Not allowing the dough to sit long enough in the fridge will prevent enough gluten from being formed. This causes flat and dense dough once baked.
Your yeast could be dead. If you finish step 1 and after 10 minutes there is no bubbles present, your yeast is dead or the water may have been too hot. Try again with a new batch of yeast.
Sure but then it is no longer ‘no knead’.
The purpose of the long fermentation in the fridge allows you to forgo kneading BUT it also creates an amazing flavour because slow fermentation leaves behind by-products (yeast converts sugar into CO2 and alcohol) which create an improved and more complex flavour.
At least 25 minutes. Trust me, it’s hard to resist but allowing the loaf to cool completely leads to better taste and texture. Allow the steam to escape, don’t risk creating gummy, sticky bread by cutting into the loaf.
Store in an airtight container at room temperature for 3-4 days. If your environment is humid, consider storing it in the fridge or slicing and freeze.
Certainly! You can freeze semi-baked and fully-baked loaf. Place in an airtight freezer bag or wrap in cling film and store for up to 3 months.
Looking For More Yumminess?
Whether it is more yummy bakes good or learning, we have you covered!
Did you make this recipe?
Let us know how it turned out for you! Comment below, tag @missmolly_makes on Instagram using #missmollymakes or visit us LIVE at twitch.tv/missmollymakes.com
Rosemary No Knead Bread
Equipment
- large bowl
- large casserole or cast iron dish with lid
Ingredients
- 450 g (3 cups) bread / plain flour
- 3 cloves garlic minced
- 1 ½ tbsp (2 tbsp) fresh rosemary chopped
- 9 g (1¼ tsp) salt
- 1 tsp instant yeast
- 360 mls (1½ cups) water warmed
Instructions
- In a large bowl, combine flour, garlic, rosemary, salt and yeast.
- Using a spatula, slowly pour water and mix until a wet, sticky dough forms, about 30 seconds.
- Cover bowl tightly with plastic wrap and refrigerate for 14-18 hours until it is doubled in size and small bubbles are present.
- Transfer dough to a lightly floured work surface. Gently shape dough into a rounded loaf. You can use a sharp knife to score the surface.
- Place dough onto baking paper. Cover with a clean dishtowel and let stand at room temperature until dough has again doubled in size. You can also gently poke to test the dough to ensure that it slowly springs back when poked with a finger, roughly 1-1½ hours.
- Turn on oven and add your cast iron and ceramic casserole dish. Preheat to 250ºC/450ºF for at least 30 minutes.
- Working quickly, remove lid of baking dish and transfer dough and baking paper into it. Return lid and bake until golden brown, about 35 minutes. Serve warm.
Nutrition
Nutritional information is only an estimate. The accuracy of the nutritional information for any recipe on this site is not guaranteed.
Did you make this recipe?
Please let me know how it turned out for you! Leave a comment below and tag @missmollymakes on Instagram and hashtag it #missmollymakes.

Hiya, I’m Lauren but you can call me Molly!
Former OR Nurse and self-taught home cook passionate about Approachable, No-Nonsense recipes to help you level up in the kitchen. Together with my husband Troy, we create simplified dishes for busy people with easy-to-find ingredients!
To learn more about us, our cooking show and more, click here!
— Recent Recipes —
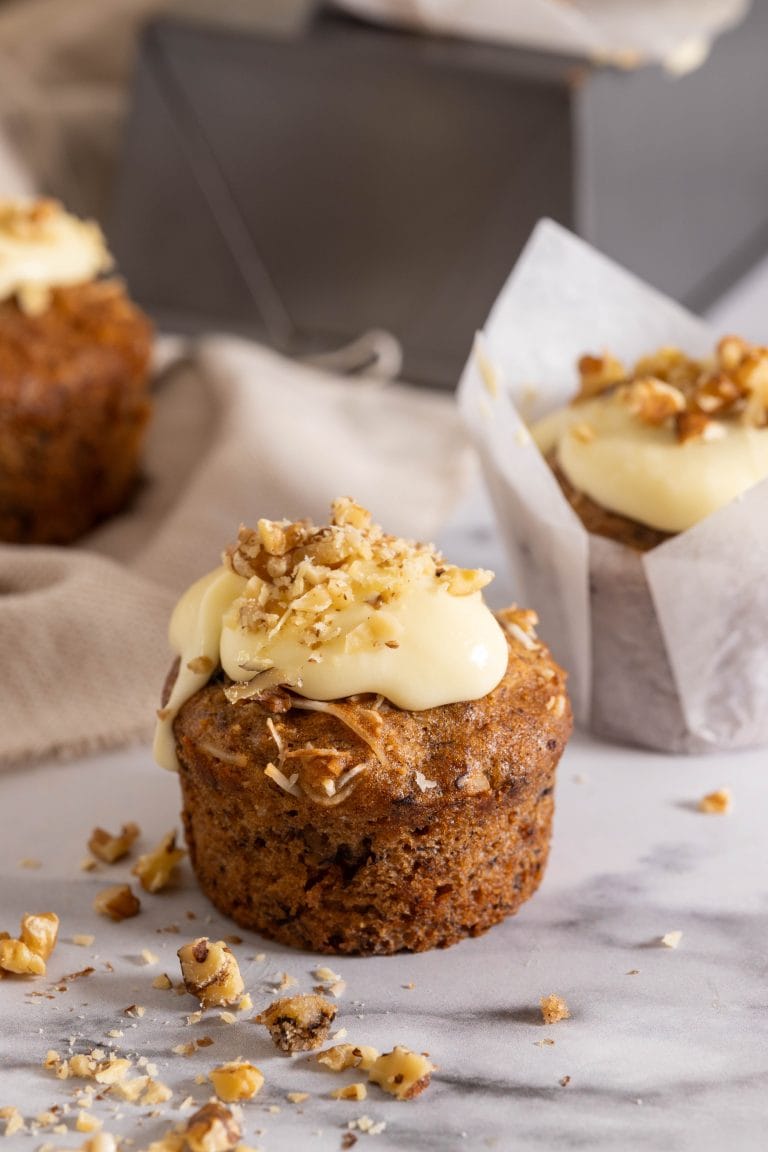
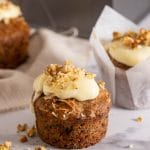
- Banana Coconut & Pineapple (Hummingbird) Cupcakes with Cream Cheese Frosting
- Crispy Pork & Mushroom Dumplings

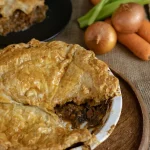
- Hunter’s Hearty Beef Pie
- Seared Beef Sushi / Aburi

Our Latest ebook
It’s full of Aussie summer recipes, not just from Christmas!