Maritozzi are traditional Italian sweet buns that originated in the region of Lazio, particularly in Rome. They are a type of sweet bread roll, typically served as a breakfast or dessert item. The buns are characterised by their soft and fluffy texture and are often filled with various sweet fillings, the most popular being whipped cream made with mascarpone cheese. The filling is light yet luxurious and the rich brioche bun is to die for!
My dad, David has always been a huge fan of donuts for as long as I can remember. I am really excited to make these for him during the holiday season.
Table of Contents

Why This Recipe Is Amazing
- Soft and Tender Texture: The buns are typically made with enriched dough, which makes them soft, tender, and a pleasure to bite into. They are similar to a donut but baked.
- Creamy Filling: The whipped mascarpone cream filling is smooth, velvety, and lightly sweetened, complementing the buns perfectly.
- Balanced Sweetness: The sweetness of the buns is usually well-balanced, allowing the flavours of the dough and cream to shine without being overly sugary.
- Heaps of Tips and Tricks to set you up for success.

What Ingredients Are Needed
For the Buns
- Milk: used to provide moisture and a tender crumb to the buns. The warmth of the milk also helps activate the yeast during the proofing process. A temperature of around 41-46°C/110-115°F is ideal.
- Instant yeast: Instant yeast is stronger, faster and more stable than dry yeast but you can substitute with what you have.
- Bread flour: Flour is the primary structure-building ingredient in the dough. Bread flour has a higher protein content, which contributes to a stronger gluten network, resulting in a more elastic and chewy dough. All-purpose flour can be used as a substitute if bread flour is not available.
- White sugar: While the sugar adds minimal sweetness, it provides energy for the yeast to multiply and grow.
- Salt: Salt enhances the overall flavour of the buns and also helps regulate yeast activity.
- Large eggs: Eggs enrich the dough, adding moisture, tenderness, and a slight yellow colour to the buns. Use eggs in cartons labelled “large eggs” which are 55 – 60g / 2 oz each.
- Lightly salted butter: Butter adds richness and flavour to the dough, making it soft, tender, and buttery. I opt for a grass-fed, higher fat-content butter that is lightly salted to enhance the flavours of the butter itself. Unsalted butter is okay however you must then add 1/4 tsp salt. Use at room temperature to help it incorporate into the dough more effectively.
For the Cream Filling:
- Heavy Whipping Cream: The cream is whipped to add a light and airy texture to the filling.
- Mascarpone: Mascarpone cheese is a smooth and creamy Italian cheese that provides richness and a distinct flavour to the filling.
- Powdered Icing Sugar: Powdered sugar sweetens the filling and helps stabilize the whipped cream.
- Vanilla Bean Paste or Extract: Vanilla adds a delightful flavour to the filling, enhancing its overall taste.
- Pinch of Salt: A pinch of salt helps balance the sweetness and enhances the flavours in the filling.

How To Make Maritozzi – Italian Cream Buns
Proof the yeast: Warm milk in the microwave for 5 seconds until lukewarm (not hot). Alternatively, heat gently in a saucepan. Whisk in yeast and sugar until dissolved. Set aside until foamy, 3-5 minutes, to ensure yeast is active.
Mix the dough: In the stand mixer bowl, combine flour, salt, yeast mixture, and eggs. Use the dough hook on low until a scraggy dough forms. Cover and let sit for 10 minutes for autolyse process to hydrate flour and form gluten bonds.
Knead the dough: Remove cover and knead on low, scraping sides and hook occasionally. Knead until dough is soft and shiny, and pull away from the bowl (about 8 minutes). Add more flour if sticking persists.
Incorporate butter: Gradually add butter, kneading after each addition. The dough will become shiny and soft due to the butter and eggs.
Rise and chill dough: Shape dough into a ball on a floured surface. Place in a greased bowl, cover, and let rise at room temperature for 1-1/2 hours or until nearly doubled. Mark to track rise progress. Refrigerate for 2-24 hours to firm up butter and improve flavour.
Portion and shape buns: Divide dough into 8-10 pieces. Lightly flatten, pull edges inward, and roll on the benchtop for surface tension. Place on trays, spaced apart. Cover with greased plastic wrap and let rise until doubled, about an hour.
Preheat the oven: Preheat to 180°C/350°F. Line 2 baking trays.
Bake the buns: Brush with egg wash and bake for 25 minutes or until golden. Cool on a heatproof surface.
Prepare the cream: Whip cream, mascarpone, vanilla, and powdered sugar until stiff peaks form. Transfer to a piping bag and refrigerate.
Bring it all together: Slice each bun across the top at a 45-degree angle, not cutting through the bottom. Fill with cream and smooth. Dust with powdered sugar and serve.
Setting you Up For Success – Tips & Tricks
- Use high-quality flour: Maritozzi requires strong, high-gluten flour to achieve its characteristic chewy texture. Look for bread flour that has higher protein and is perfect for bread and pasta making.
- Weigh or measure flour properly – Scooping flour out of the container can actually compress the flour and you’ll possibly end up with ~50% extra! Compressed flour = Over-measuring = dry, dense and cakey baked products. Weighing with a scale is ALWAYS recommended. If you don’t have scales, spoon flour into the measuring cup so that it isn’t packed.
- Temperature Control: Ensure that your ingredients, particularly the eggs and milk, are at room temperature. Cold ingredients can slow down yeast activity and affect dough development.
- Yeast Activation: Make sure to proof the yeast properly. The milk and sugar mixture should be warm, not hot, to activate the yeast. Foamy bubbles after a few minutes indicate that the yeast is active and ready to use.
- Kneading Technique: Knead the dough thoroughly until it becomes smooth, and elastic, and pulls away from the sides of the bowl. This helps in gluten development, resulting in a better-textured bun.
- Butter Incorporation: Add softened butter gradually to the dough after it reaches the desired consistency. Knead well between each addition to ensure the butter is fully incorporated.
- Let the dough rise properly: After mixing the dough, give it plenty of time to rise. This allows the gluten to relax and the dough to become light and airy. Be patient and wait until the dough has doubled in size before shaping the buns.
- Chill the Dough: After the first rise, refrigerate the dough for at least 2 hours, up to 24 hours. Chilling the dough helps firm up the butter, making it easier to shape the buns.
- Brush with egg wash: To achieve a shiny, golden crust, brush the buns with an egg wash before baking. This will also help to keep the buns moist and tender.
- Play around with flavours: Swirl jam, fruit puree or nut butter into the mascarpone cream before filling. Nutella or berry buns anyone!!?!
- Slicing and Filling: Slice the cooled buns across the top, but not all the way through, and fill them generously with the whipped cream using a piping bag or a spoon.
- Store properly: Maritozzi are best eaten on the day they are made, but if you have leftovers, store the unfilled buns in an airtight container at room temperature for up to 2 days. To reheat, warm unfilled buns in the oven at 180°C / 350°F for a few minutes.
Frequently Asked Questions
When I made this dish on our live cooking show, some community members asked:
Keep unfilled buns in an airtight container at room temperature for 2-3 days. Keep the filled buns in the fridge for 1-2 days. Be aware they won’t be as good as fresh, they started to dry out
You can add oil in place of the butter. Canola oil or rice bran oil are great because they are neutrally flavoured (no flavour) but you won’t get the rich buttery flavour that brioche is known for.
Eat them fresh or within a few hours of making for the best flavour and texture. You may want to refrigerate to cool the cream but within 1-2 days they will start to dry out.
Yes, only the unfilled buns should be frozen! You have two options. 1. After step 8, you can freeze unbaked or 2. semi-bake until just lightly brown, cool then you can freeze for up to 6 months. To defrost, simply place onto a lined tray, and allow to sit at room temp for 10 minutes before baking at 180°c/ 350°f as per step 9.
Yes, Both instant and dry active yeast can be used. It is recommended to proof both instant and dry active yeast to ensure they are alive. See Instant yeast for more info on yeast types and tips for using them.
Yes, you can prepare the dough ahead of time and refrigerate it for up to 24 hours before baking. Chilling the dough will improve its flavour and texture. Just make sure to cover it tightly to prevent it from drying out.
Troubleshooting:
- Dough not rising: If the dough doesn’t rise, check the expiration date of the yeast and make sure the milk mixture is at the right temperature for yeast activation. Also, ensure the dough is placed in a warm, draft-free area for rising.
- Dough too sticky: If the dough is too sticky during kneading, avoid adding excess flour. Instead, lightly oil your hands or the work surface to prevent sticking. The dough will become less sticky as it develops gluten during kneading.
- Buns are too dense: If the buns turn out dense and heavy, it may be due to over-kneading the dough or using too much flour. Aim for a soft, smooth, and slightly sticky dough.
- Buns are browning too quickly: If the buns are browning too fast in the oven, you can tent them with aluminium foil after they reach the desired colour to prevent further browning while allowing them to bake fully. Also check oven temperature to ensure it is set correctly.
- Cream filling is too runny: If the cream filling is too soft, it may have been whipped too much or not chilled adequately. You can gently fold in more mascarpone or refrigerate the filling for a short time to firm it up.
- Buns are undercooked: If the buns are undercooked, extend the baking time slightly. You can also check for doneness by tapping the bottom of the buns – they should sound hollow.
- Buns are dry: Overbaking can cause the buns to become dry. Make sure to bake them until they are just golden and fully cooked but not overly browned.

Looking for more Yummy recipes?
Did you make this recipe?
Let us know how it turned out for you! Comment below, tag @missmolly_makes on Instagram using #missmollymakes or visit us LIVE at twitch.tv/missmollymakes.com

Maritozzi – Italian Cream Buns
Equipment
- stand Mixer
- 2 baking trays lined with baking paper
- small bowl
- large bowl
Ingredients
- 3 tbsp milk warmed slightly
- 6 g (½ tsp) instant yeast
- 260 g (2 cups) bread flour sub for plain all-purpose flour
- 1½ tbsp white sugar
- ½ tsp salt
- 2 large eggs room temperature
- 1 large egg yolk
- 115 g (½ cup) lightly salted butter room temperature
- egg wash
Cream Filling
- 1½ cup (1 cup) heavy whipping cream
- 1 cup mascarpone
- 2-4 tbsp (2-3 tbsp) powdered icing sugar
- 1 tbsp vanilla bean paste or extract with seeds
- pinch salt
Instructions
- Proof the yeast: In a small bowl, add milk and heat in the microwave for 5 seconds, or until it’s lukewarm but not hot. This can also be done in a small saucepan over low heat but be very aware of overheating. Pour the milk into a small bowl and whisk in the yeast and sugar to dissolve. Set aside until the mixture is foamy, about 3-5 minutes. This is to ensure that your yeast is alive and strong.
- Mix the dough: Into the bowl of a stand mixer, combine the flour and salt, the yeast mixture and eggs. Using the dough hook, mix on low until it forms a scraggy dough. Cover and allow to sit for 10 minutes. This is a form of autolyse process that gives time for the flour to hydrate and gluten bonds to begin to form.
- Knead the dough: Remove cover and continue to kneading on low, scraping the dough from the sides and hook occasionally. Keep kneading until looks soft, slightly shiny and begins to pull away from the sides of the bowl. This should take about 8 minutes on low speed. Only add an additional tablespoon or two of flour if the dough continues to stick to the sides after this time. Trust the process.
- Add the butter: Once your dough has reached a smooth, soft consistency, begin adding the butter, small amounts at a time. Continue kneading as each addition is fully incorporated into the dough before adding the next. The dough will start looking extra shiny, and soft and due to the butter and egg, it will take on a yellowish appearance.
- Rise and chill dough: When all the butter is added and the dough looks beautifully shiny, soft and supple, transfer to a lightly floured work surface. Shape it into a ball. Lightly grease or oil your large bowl and place in the dough. Cover it with a dish towel or cling film and allow it to rise at room temperature for 1-1/2 hours or until it has nearly doubled in size. Note that the rising time is slow due to the amount of fat content in the dough. You can take a photo of the initial dough or make a marking on the side of the bowl to give you an indicator to compare the final dough against.
- Refrigerate the dough: Once to dough has risen, gently deflate and form again into a ball on your lightly floured work surface. Return to bowl again and cover. Place the bowl in the refrigerator and chill for 2 to 24 hours. Refrigeration firms up the butter, creating a more manageable dough but also improving the taste of the final dough.
- Preheat the oven: 180°C/350°F degrees. Line 2 baking trays and set aside.
- Portion and shape buns: Divide the dough into 8-10 pieces. Take each piece of dough and lightly flatten, pulling edges inwards to the centre. Flip over and roll along the benchtop to create tighter surface tension. Place the rolled bun onto the tray and repeat with the rest of the dough. Allow space between each bun. Cover with a greased piece of plastic wrap and allow to rise until doubled, about an hour.
- Bake the buns: Baste with egg wash and Bake for 25 minutes or until golden. Remove from oven and place on a heatproof surface to cool completely.
- Prepare the cream: In a large bowl whip cream, mascarpone, vanilla extract and powdered sugar until stiff peaks form. Transfer to a piping bag. and set aside in the fridge.
- Bring it all together: Slice each bun across the top on a 45-degree angle, without cutting through the bottom. Fill each bun with the cream and smooth it out with a spatula. Dust the buns with extra powdered sugar and serve.
Notes
Nutrition
Nutritional information is only an estimate. The accuracy of the nutritional information for any recipe on this site is not guaranteed.

Hiya, I’m Lauren but you can call me Molly!
Former OR Nurse and self-taught home cook passionate about Approachable, No-Nonsense recipes to help you level up in the kitchen. Together with my husband Troy, we create simplified dishes for busy people with easy-to-find ingredients!
To learn more about us, our cooking show and more, click here!
— Recent Recipes —
- Banana Coconut & Pineapple (Hummingbird) Cupcakes with Cream Cheese Frosting

- Crispy Pork & Mushroom Dumplings

- Hunter’s Hearty Beef Pie

- Seared Beef Sushi / Aburi

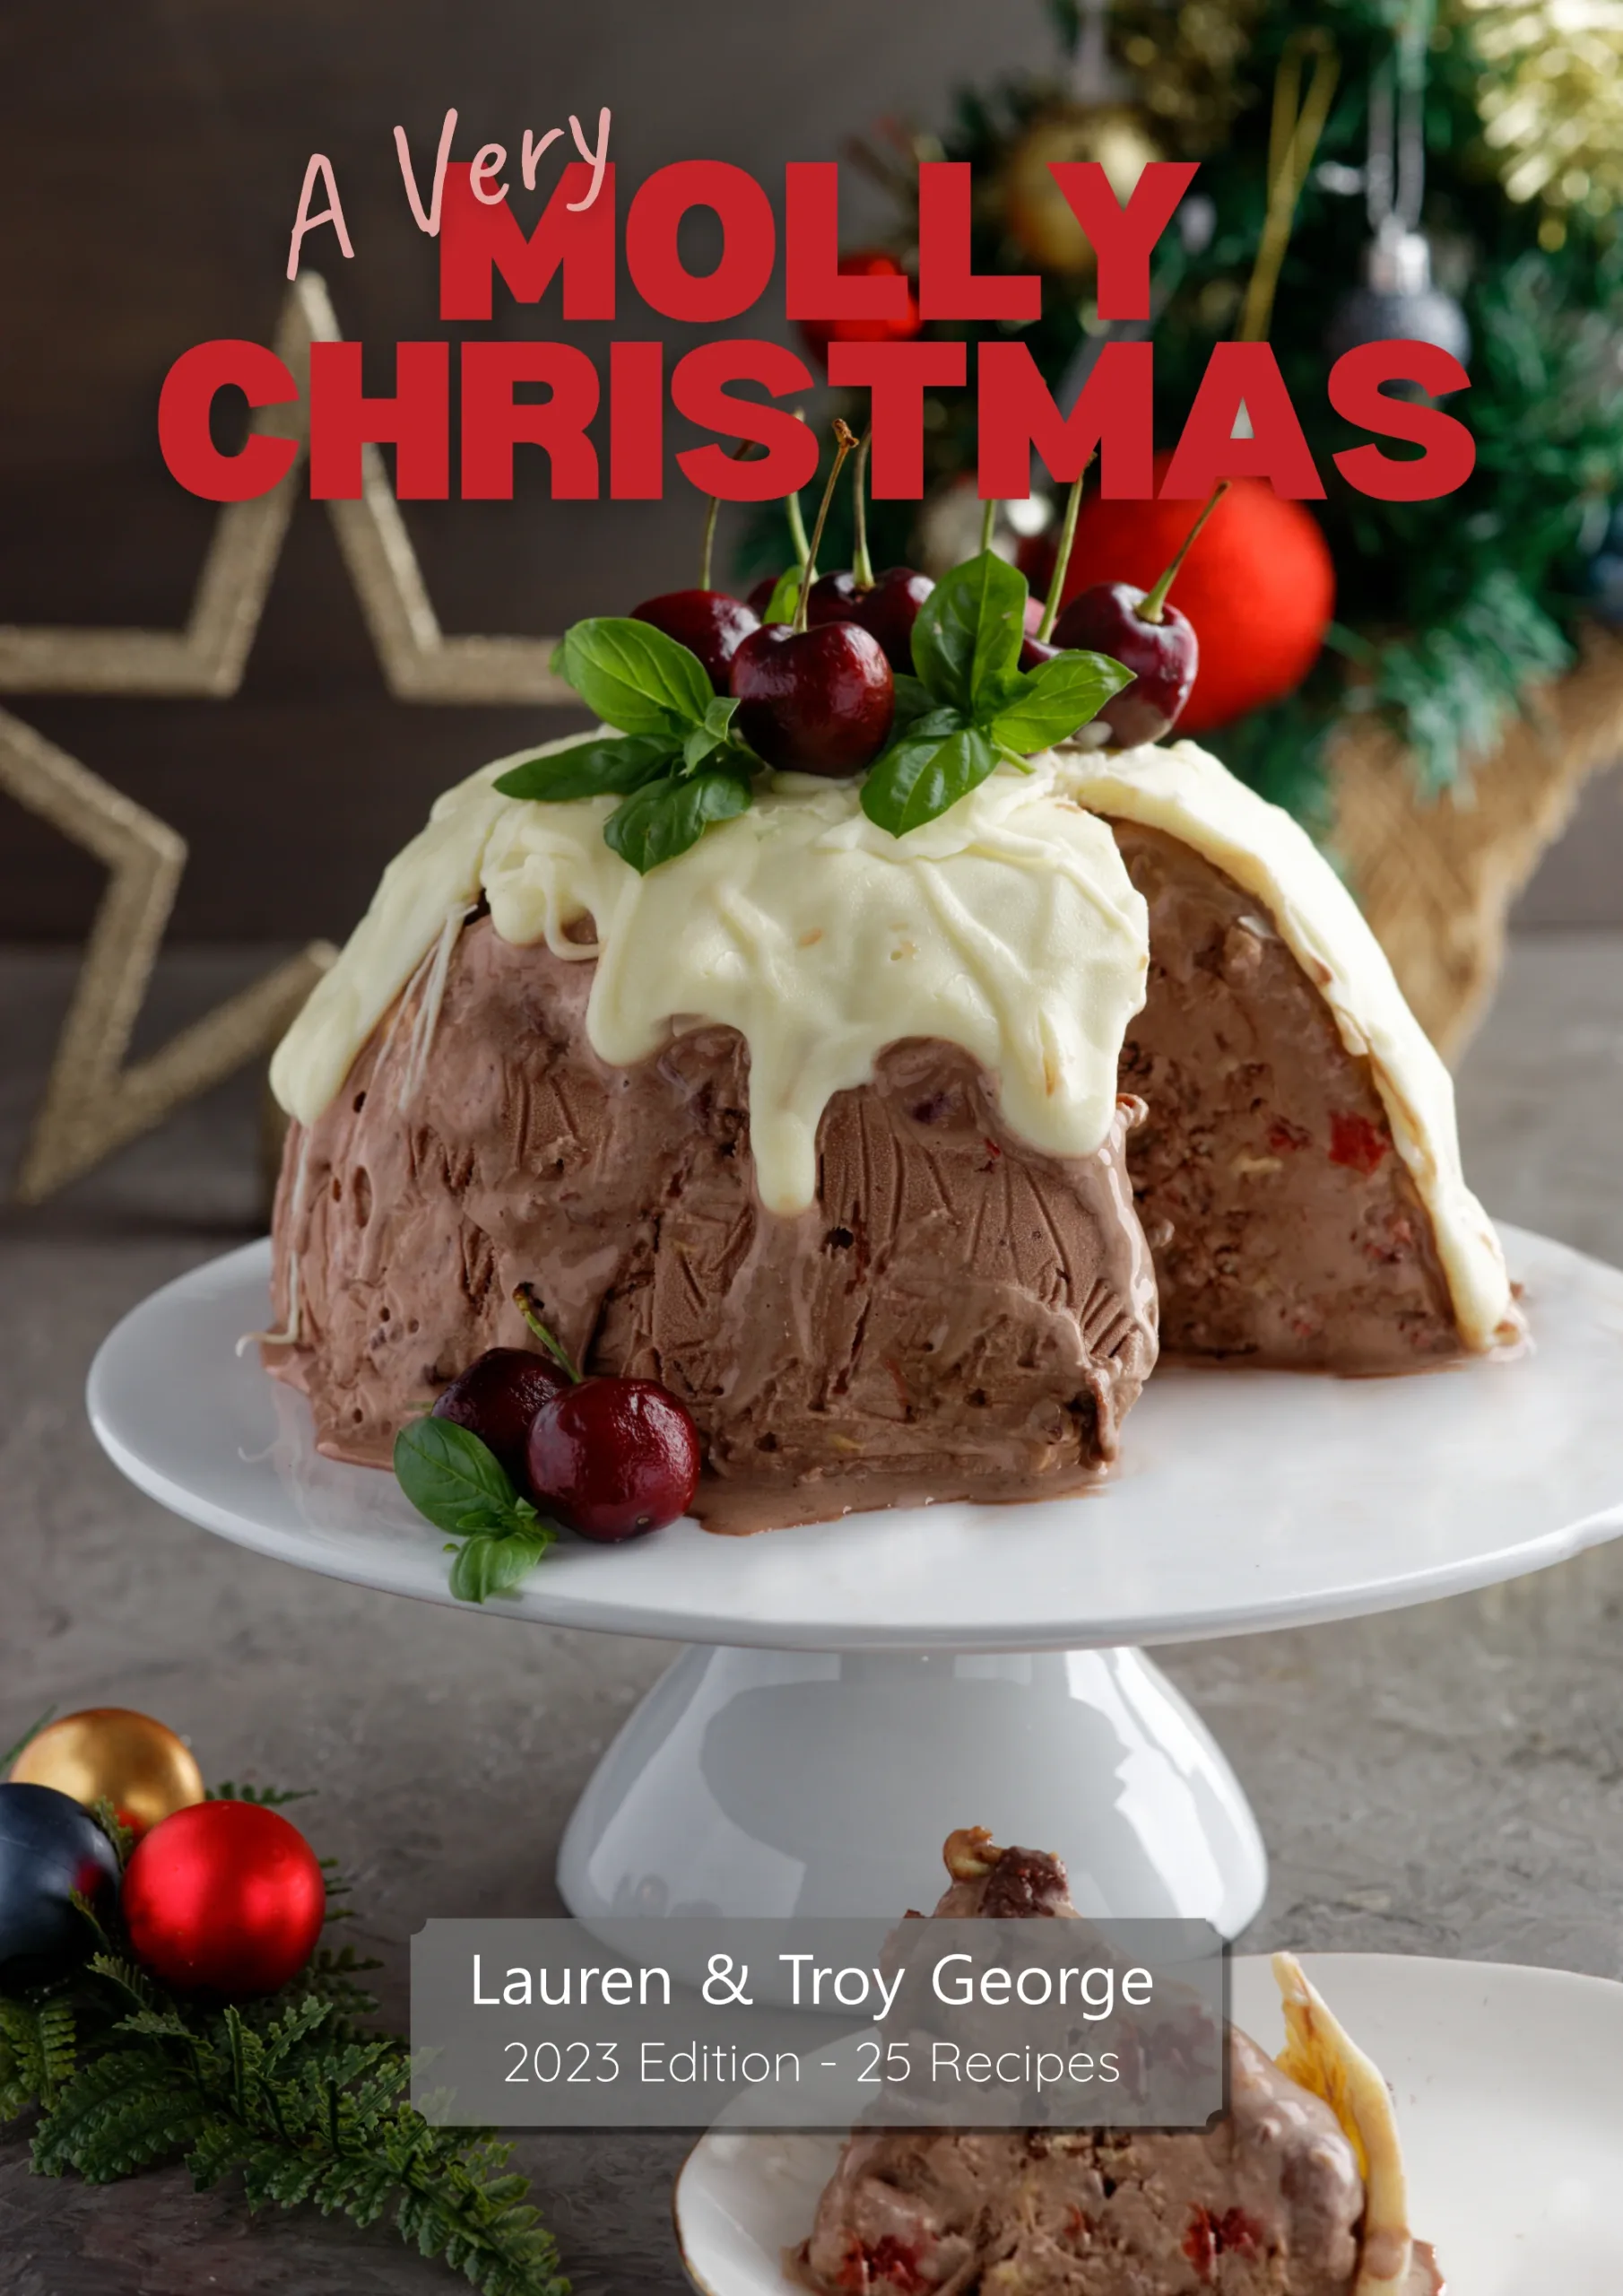
Our Latest ebook
It’s full of Aussie summer recipes, not just from Christmas!