Brioche Donuts with Fresh Cream Filling
Brioche donuts are the fancy, luxurious donut and arguably the best. They’re made with a brioche dough that gives them their soft, fluffy texture with a rich buttery flavour. The best thing though, they are so versatile! You can fill them with flavoured cream, custard, jams, chocolate ganache and more!

Why this recipe is amazing
Flavour & texture: The softest, fluffiest brioche with a rich buttery flavour. These donuts are fried to have a slight crisp exterior and crunch when coated in sugar.
Difficulty & Time: 2/5. This recipe is really simple, you just mix, proof, dump into and bake. The toughest thing is waiting patiently for them to proof!
Versatility: You can fill them with whatever your heart desires. Nutella, Jam, flavoured whipped cream or custard. The great thing is that because this recipe makes 12 donuts, you could always have 12 different flavours.

What are Brioche Donuts?
Brioche is an ‘enriched dough’ which is a name for a dough that is rich in butter, eggs, milk, and sometimes includes sugar. Basically it is more luxurious, higher in fat, slightly sweeter and more tender. This is why these brioche donuts are so good!
What ingredients are needed for brioche donuts:
White sugar: While the sugar adds minimal sweetness, it provides energy for the yeast to multiple and grow.
Warm milk: Milk is used in place of water to give extra fat, leading to richer flavour. A temperature of around 41-46°C/110-115°F is ideal but cooler milk is okay just ensure that it is not above the aforementioned temperature as it risks killing the yeast.
Instant yeast: Instant yeast is stronger, faster and more stable than dry yeast.
Plain flour: Plain flour is recommended over bread flour, even though we are making bread, due to its lower protein (less gluten) levels which leads to a softer, lighter texture. Bread flour can be used but it will give a chewier texture rather than soft and fluffy.
Large eggs: Large eggs are always recommended when baking so that they give consistent results every time and you avoid having an ‘eggy’ taste. Use eggs in cartons labelled “large eggs” which are 55 – 60g / 2 oz each. This is an industry standard and most international bakers’ recipes use this size. In a pinch and have larger eggs? Crack egg into a bowl, whisk then measure out 50 ml / 48-50 grams. Ta-dah!
Salt: A huge part of bread baking but all cooking needs SALT! While enhancing the flavour of all ingredients in the recipe and giving the donuts the ‘bready’ flavour we all love, it helps to tighten the gluten structure. That strengthening allows the dough to trap and hold more carbon dioxide more efficiently.
Lightly salted butter: Yes, I’m a salted butter fan. I opt for a grass-fed, higher fat content butter that is lightly salted to enhance the flavours of the butter itself. You may use unsalted butter but you must then add 1/2 tsp salt.

How to make Cream Filled Brioche Donuts
For the dough
- Using a stand mixer or regular large bowl, add sugar and yeast with the warm milk. Allow it to sit for about 10 minutes or until the yeast starts to bubble.
- Add flour, salt and eggs to the yeast mixture in a large bowl until a scraggy mixture is formed. Cover and set aside for 10 minutes.
- Either transfer to a lightly floured work surface or using a stand mixer with dough hook, knead for 5-8 minutes until the dough becomes together, becoming smooth and elastic. It will initially be sticky but as you develop gluten structure, it will firm up. If still loose after 6 minutes or kneading, add 1 tbsp flour.
- Slowly incorporate the butter, 1-2 tbsps at a time, kneading well in between each addition. The dough should look smooth and silkier and have a yellow colour.
- To know when enough kneading is done, ensure it passes the ‘window pane test’. Gently spread the dough apart. If properly kneaded, the dough should stretch, without tearing so that you can see through. You may knead for up to 20 minutes, this is why the stand mixer is recommended.
Proofing
- Cover the bowl with cling film and leave to proof at room temperature for about 2 hours, or until doubled in size. You can either use now or slow proof for extra flavour and better texture.
- Long Proof: Deflate dough and re-cover the bowl. Refrigerate for 12 – 16 hours or overnight. TIP: The donuts will be even better, more flavourful and actually easier to digest if you leave them to proof longer. If you don’t have the time, you can skip this step but i do recommend it.
- Make Now: Gently remove dough and place on a lightly floured work surface. Portion into 12 pieces.
- Shape each portion into a smooth, tight bun and place on a baking tray lined with baking paper. Repeat with the remaining portions.
- I like to then use a pair of scissors to cut the baking paper into small rectangles, just wider than the bun (allow for rising size). This allows you to pick up the paper and place into the hot oil when it comes and avoids it deflating.
- Ensure there is plenty of room between the donuts as they rise. Cover lightly with cling film or a tea towel and leave for about 1-2 hours, or until about doubled in size. Brioche dough rises slowly and depending on weather, proofing time may vary. Summer = faster. winter = slower proof.
Frying
- In a large wide cast iron or fry pan. Fill it up to the halfway point with canola oil. Heat the oil to 165-175°C / 330-350°F. Carefully remove the donuts from the baking tray, take care not to deflate them, and place them into the oil. Fry for 3 minutes on each side until golden brown. Remove from the oil and place on a tray lined with paper towels. Set aside to cool before filling.
Bring it all Together
- Transfer the preferred fillings into a piping bag fitted with a round piping tip. Using a small knife, make a small incision in the side of each donut. Insert the piping tip and fill well with cream.
- Place sugar in a wide bowl, place on donut in at a time and coat with sugar. Shake to remove any excess.
- Serve donuts fresh. Enjoy!

Setting you up for success – Tips, Tricks & FAQs for donuts
Slow proofing simply is retarding, or slowing down the proofing process of the dough. The benefits of slow proofing is allows flexibility to make the donuts at a later time but more importantly, it improves the texture and flavour. Proofing the donut dough in the fridge helps the dough develop a deeper flavour, its also gives it better structure, firms up the butter and makes it much easier to work with. Cold dough is less sticky firmer than than a room temperature one.
The ideal temperature is around Heat the oil to 165-175°C / 330-350°F. The dough contains eggs and butter which causes them to brown quickly. I prefer a slightly lower temperature, to ensure the interior cooks before the exterior gets too dark. If the oil is too hot, you’ll end up with raw dough inside but also if the oil is below 165°C/3305°F, you risk the donuts absorbing oil and becoming greasy. It’s best to invest in a candy or frying thermometer to maintain the right temperature.
The best oils for frying are neutral flavoured and have a high smoke point. I use Rice Bran oil but most commonly canola or peanut are good too. To get the most out of your oil, allow it to cool completely after use and then strain between 3-4 layers of paper towel. It can usually be reused 2-3 more times as long as it doesn’t smell or isn’t very discoloured.
While it is possible to make with your hands, brioche dough tends to be a wetter texture and also needs to be kneaded for longer to create gluten strength. This is why it is recommended that a stand mixer it used.
As mentioned above, enriched doughs take much longer to knead than regular bread doughs. Keep kneading until it becomes less sticky, this may take around 20 minutes. You can also place the dough in the fridge for 10 minutes to help solidify the butter in the dough..
Your yeast could be dead: If you finish step 1 and after 10 minutes there are no bubbles present, your yeast is dead or the milk possibly was too hot. Try again with a new batch of yeast and/or cooler milk. Check out this post on yeast for more info.
Not kneading the dough long enough: This causes flat and dense donuts once cooked. The kneading process develops the gluten structure. It will make the dough more soft and elastic.
Not proofing the dough long enough before frying: Make sure the dough doubles in size the first time you prove it. For the second proofing, softly poke the dough with your index finger. If it leaves a small indent that slowly springs back (but not fully), they are ready. It it springs back quickly, it needs longer proofing. If it collapses and doesn’t spring back, its over-proofed.
Brioche donuts (like most enriched breads) are best served fresh on the day of cooking. They tend to lose their softness and become dry. To keep the brioche donuts fresh, make sure to store them in an air-tight container for up to 3 days or freeze for 3-4 weeks. Either defrost at room temperature or reheat for a few seconds in the microwave before serving.

Looking For More Yumminess?
Whether you’re after more simple snacks, easy dinner ideas or delightful desserts, we have you covered!
Did you make this recipe?
Let us know how it turned out for you! Comment below, tag @missmolly_makes on Instagram using #missmollymakes or visit us LIVE at twitch.tv/missmollymakes.com

Brioche Donuts with Fresh Cream Filling
Equipment
- stand mixer or large bowl
- Deep cast iron pot or deep dryer
Ingredients
- 50 gm (¼ cups) white sugar
- 190 ml (¾ cups) full cream milk warmed
- 16 gm (1 tbsp) instant yeast
- 500 gm (4 cups) plain all purpose flour
- 3 large eggs
- 1 tsp salt
- 100 gm (⅓ cups) lightly salted butter
Fresh Coffee Cream
- 500 ml (2 cups) heavy whipping cream Very cold
- 40+ gm (¼ cup) powdered icing sugar to taste
- 2-3 tsp (2 tsp) instant coffee powder mixed with 1 tsp boiling water
Strawberry cream
- 500 ml (2 cups) heavy whipping cream Very cold
- 2 tbsp powdered icing sugar to taste
- 250 gm (½ lb) fresh strawberries finely diced
- 1 tsp vanilla extract
Biscoff cream
- 500 ml (2 cups) heavy whipping cream Very cold
- ⅓ cup Biscoff spread warmed slightly to create runny texture
Coffee pastry crème
- 5 egg yolks
- 110 gm (½ cups) white sugar
- 30 gm (2 tbsp) cornflour/starch
- 550 gm (2¼ cups) milk
- 20 gm (1-2 tbsp) coffee beans roughly chopped
- 30 gm (6 tsp) lightly salted butter softened
- 1 tbsp vanilla extract
Extras
- oil for frying Rice Bran, Canola, Peanut etc
- white sugar for coating donuts
Instructions
For the dough
- Using a stand mixer or regular large bowl, add sugar and yeast with the warm milk. Allow it to sit for about 10 minutes or until the yeast starts to bubble.
- Add flour, salt and eggs to the yeast mixture in a large bowl until a scraggy mixture is formed. Cover and set aside for 10 minutes.
- Either transfer to a lightly floured work surface or using a stand mixer with dough hook, knead for 5-8 minutes until the dough becomes together, becoming smooth and elastic. It will initially be sticky but as you develop gluten structure, it will firm up. If still loose after 6 minutes or kneading, add 1 tbsp flour.
- Slowly incorporate the butter, 1-2 tbsps at a time, kneading well in between each addition. The dough should look smooth and silkier and have a yellow colour.To know when enough kneading is done, ensure it passes the ‘window pane test’. Gently spread the dough apart. If properly kneaded, the dough should stretch, without tearing so that you can see through. You may knead for up to 20 minutes, this is why the stand mixer is recommended.
Proofing
- Cover the bowl with cling film and leave to proof at room temperature for about 2 hours, or until doubled in size. You can either use now or slow proof for extra flavour and better texture. Long Proof: Deflate dough and re-cover the bowl. Refrigerate for 12 – 16 hours or overnight. TIP: The donuts will be even better, more flavourful and actually easier to digest if you leave them to proof longer. If you don't have the time, you can skip this step but i do recommend it.
- Make Now: Gently remove dough and place on a lightly floured work surface. Portion into 12 pieces.
- Shape each portion into a smooth, tight bun and place on a baking tray lined with baking paper. Repeat with the remaining portions. I like to then use a pair of scissors to cut the baking paper into small rectangles, just wider than the bun (allow for rising size). This allows you to pick up the paper and place into the hot oil when it comes and avoids it deflating. Ensure there is plenty of room between the donuts as they rise. Cover lightly with cling film or a tea towel and leave for about 1-2 hours, or until about doubled in size. Brioche dough rises slowly and depending on weather, proofing time may vary. Summer = faster. winter = slower proof.
Frying
- In a large wide cast iron or fry pan. Fill it up to the halfway point with canola oil. Heat the oil to 165-175°C / 330-350°F. Carefully remove the donuts from the baking tray, take care not to deflate them, and place them into the oil. Fry for 3 minutes on each side until golden brown. Remove from the oil and place on a tray lined with paper towels. Set aside to cool before filling.
- Create the Creams! Choose ONE or make small amount of the other flavours and use all 4!
Coffee pastry crème
- Add the milk, coffee beans and half of the sugar in a saucepan and place over medium-low heat. When bubbles start to form, just before the milk boils, remove from heat and place on lid. Allow the milk and coffee to infuse for 15 minutes. Strain through a fine-mesh sieve and discard the coffee beans. In a small bowl, mix the remaining sugar, egg yolks, and cornflour/starch. Slowly pour a small amount of the hot milk into the yolks, whisking constantly, then pour 1/3 of the milk into the yolks, still whisking constantly as to 'temper the eggs'. Pour the mixture back into the saucepan and heat over medium-low heat, whisking constantly, until the mixture is thick and silky.Remove from heat and whisk the butter and vanilla paste/extract and whisk until it comes together. Cover with cling wrap directly on the surface to prevent a skin from forming and refrigerate until completely cool.
Fresh Cream Options
- Using a cold metal mixing bowl, add the cream and beat until stiff peaks form. Stir in desired cream ingredients. Cover and refrigerate until needed.
Bring it all together
- Transfer the preferred fillings into a piping bag fitted with a round piping tip. Using a small knife, make a small incision in the side of each donut. Insert the piping tip and fill well with cream.
- Place sugar in a wide bowl, place on donut in at a time and coat with sugar. Shake to remove any excess.
- Serve donuts fresh. Enjoy!
Nutrition
Nutritional information is only an estimate. The accuracy of the nutritional information for any recipe on this site is not guaranteed.

Hiya, I’m Lauren but you can call me Molly!
Former OR Nurse and self-taught home cook passionate about Approachable, No-Nonsense recipes to help you level up in the kitchen. Together with my husband Troy, we create simplified dishes for busy people with easy-to-find ingredients!
To learn more about us, our cooking show and more, click here!
— Recent Recipes —
- Banana Coconut & Pineapple (Hummingbird) Cupcakes with Cream Cheese Frosting

- Crispy Pork & Mushroom Dumplings

- Hunter’s Hearty Beef Pie

- Seared Beef Sushi / Aburi

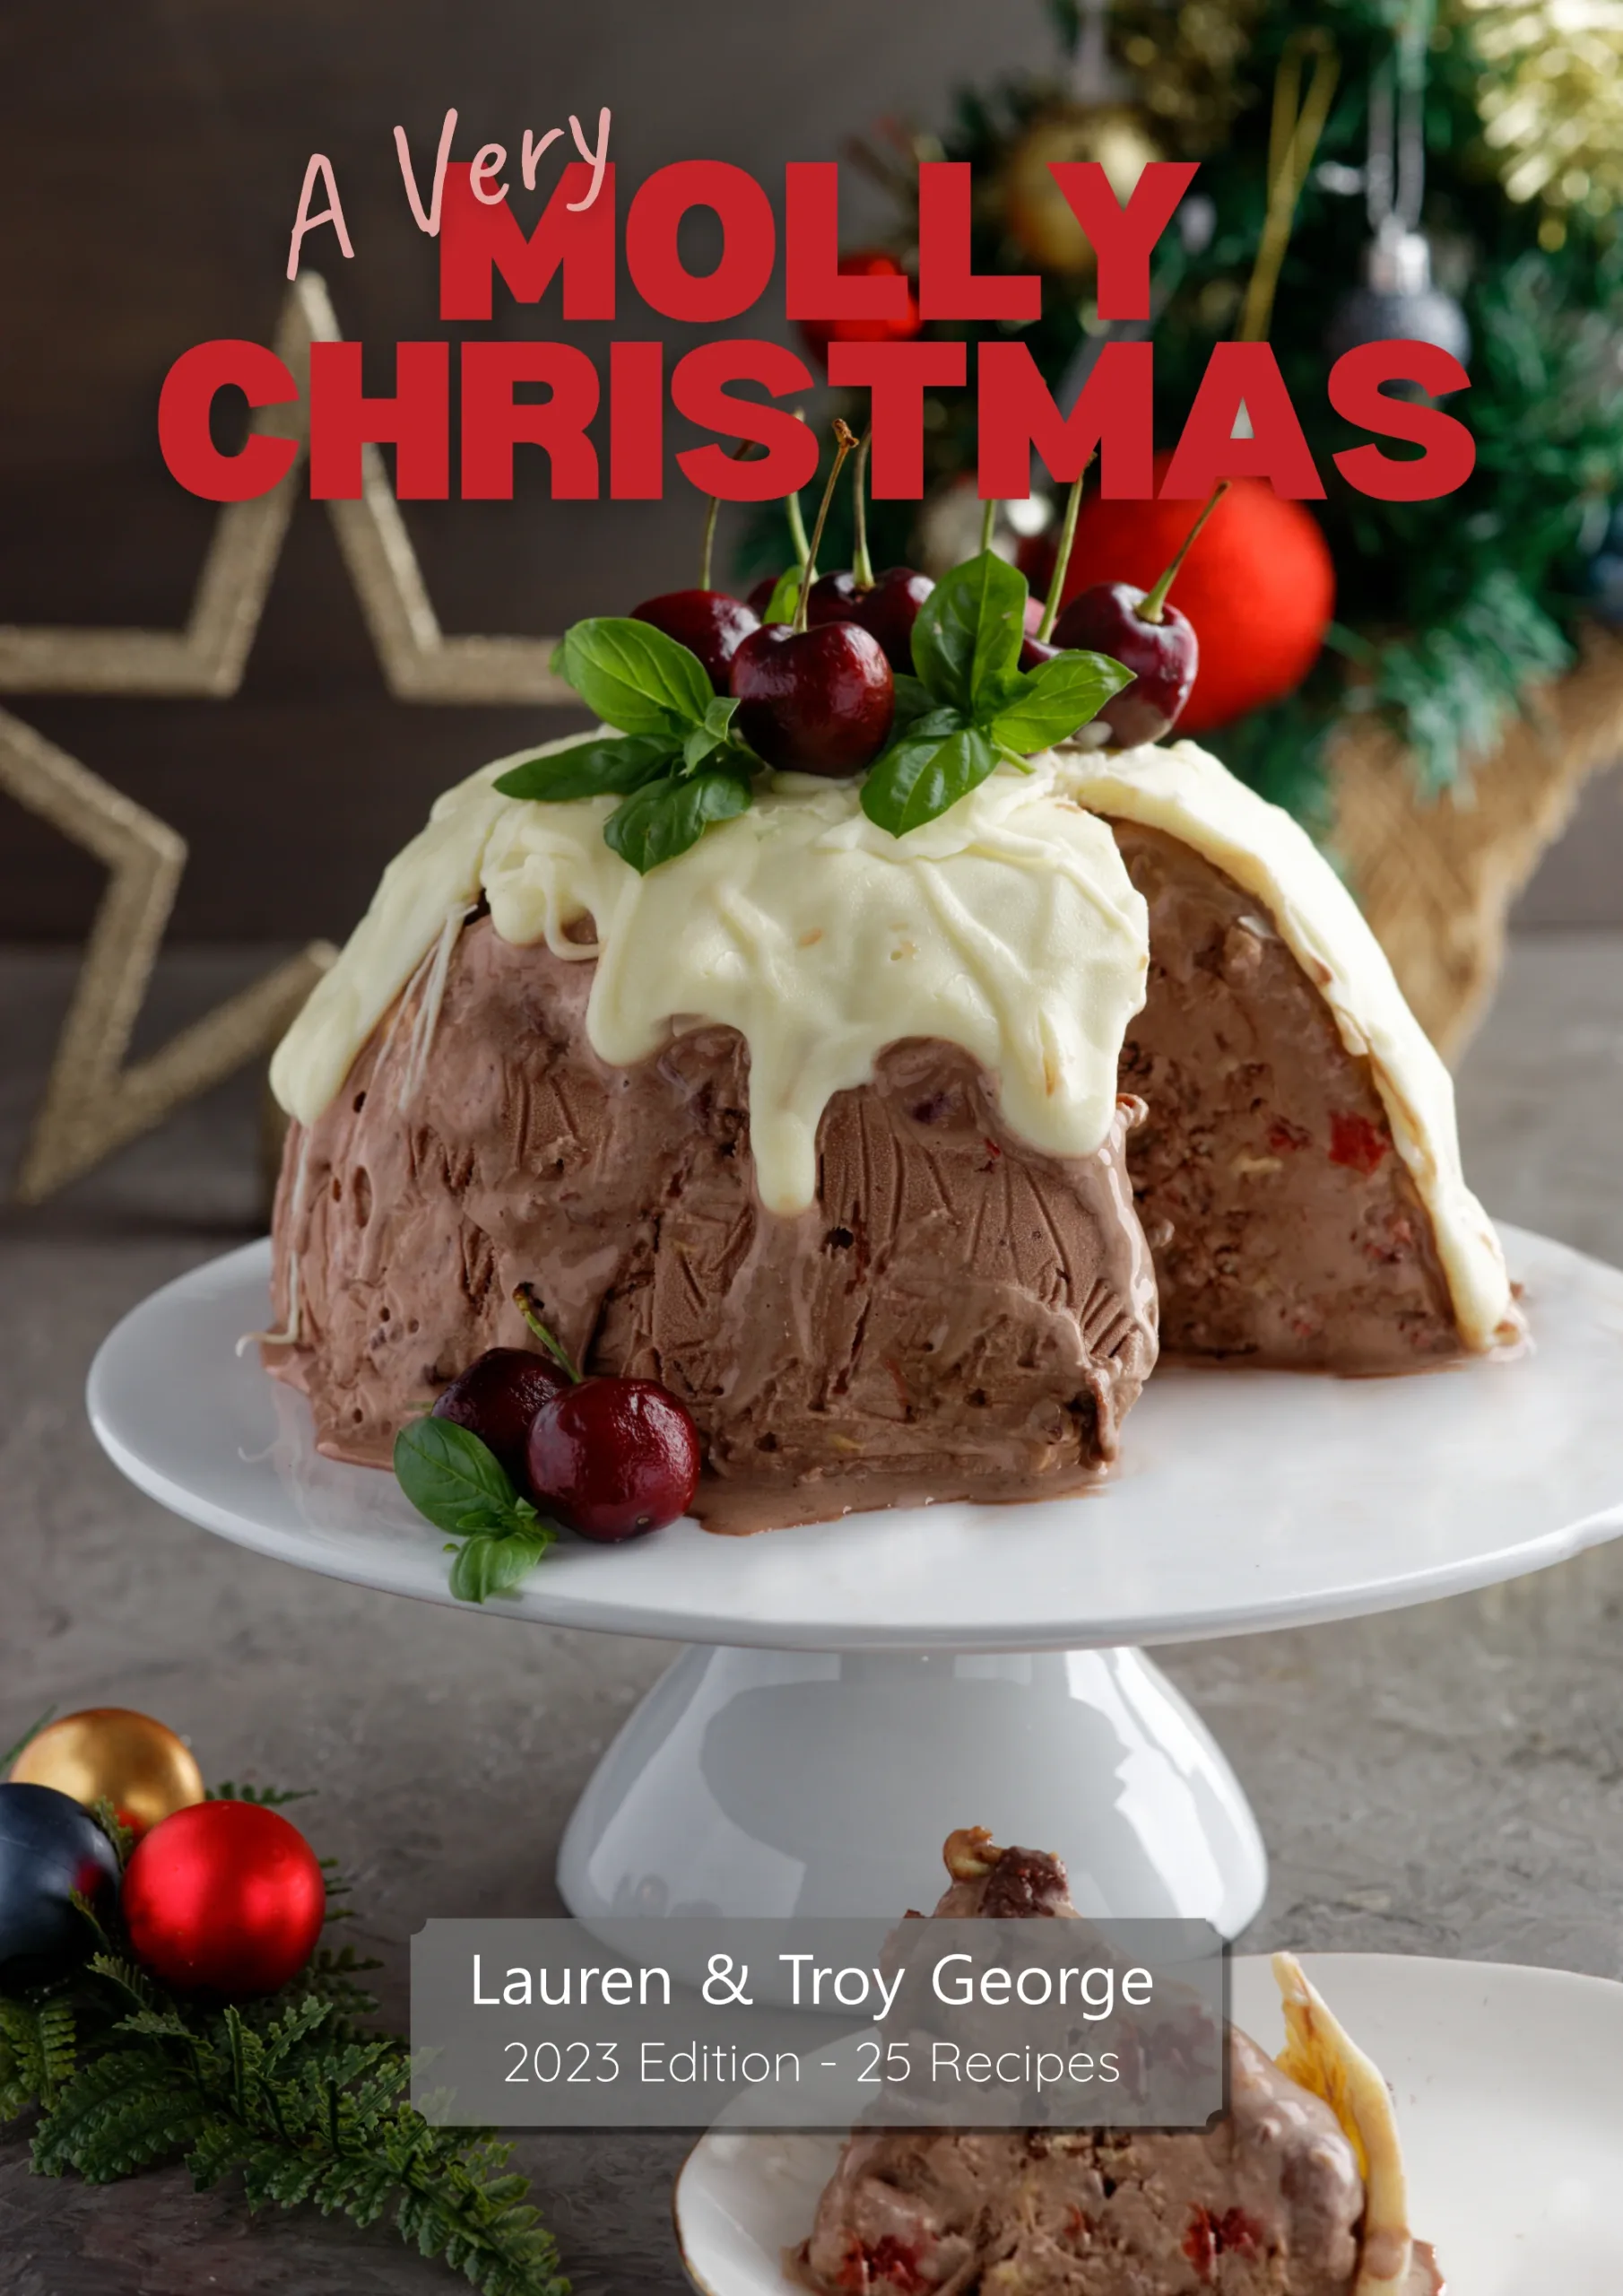
Our Latest ebook
It’s full of Aussie summer recipes, not just from Christmas!