Aussie Jelly Cheesecake Slice
This recipe is as simple as it is tasty. It’s no fuss, no bake and minimal dishes (yay!)
In Australia, we call it jelly, but I know it is also referred to as jello. This dessert is often found at birthday parties, and morning teas and is beyond moreish! It’s light and sweet, just try stopping at one piece!

Why this recipe is amazing
Flavour & texture: Light, sweet and fruity. Very similar to a firm cheesecake but topped with a fresh, fruity jello layer. The buttery base is lightly sweet and a little savoury which nicely balances the sweet topping layers.
Difficulty & Time: Very easy 1/5. Easy to put together but takes at least 5 hours to refrigerate.
Versatility: The base can be made with your favourite cookies, even gluten-free will be great! Choose your preferred jelly/jello for the third layer, basically, anything works.
What is Jelly Slice?
Jelly slice is a traditional Australian dessert that is No baked and consists of three layers. My recipe is a little different as it includes cream cheese to make a lighter, more cheesecake-like.
- First Layer: Crushed shortbread, graham or sweet cookies mixed with butter.
- Second Layer: Condensed milk and cream cheese with a hint of tangy lemon flavour that is set with gelatin.
- Third Layer: Fruity jelly/jello. Strawberry, raspberry, and port wine are common but other flavours work too!

What ingredients are needed
- Flavoured packet jelly/jello crystals: Fruity sweet flavours are recommended. Strawberry, raspberry, and port wine flavours are common but use what you like. You may also add fresh fruit into the jelly’/jello layer
- Plain biscuits/cookies: You can use gluten-free or regular cookies such as shortbread or graham crackers. I like to use Arnott’s scotch fingers or granita.
- Salted butter A good butter brand is best. I use lightly salted grass-fed butter therefore add no salt in this recipe. Yes, you can use unsalted but add 1/4-1/2 tsp salt. The butter needs to be melted but avoid heating it too much. Warm butter makes the base soggy.
- Unflavoured gelatin powder: A natural setting agent that turns liquids into gel. It is made from animal collagen, therefore it is not suitable for vegans or vegetarians. Non-animal-based products are available but I have not yet tested this recipe with them.
- Block cream cheese Block only please, no spreadable stuff! Cream cheese, like butter in a tub with label reading ‘spreadable’, contains additives to keep it soft when refrigerated. Those additives change the flavour but also how the ingredient behaves when cooked. I never buy or use it and suggest you don’t either, especially in cheesecake!
- Full fat sweetened condensed milk: Produced by evaporating a majority of the water from fresh cow’s milk and adding sugar. This thick, rich and delicious ingredient differs from evaporated milk because it is thicker and contains sugar. They are not interchangeable. Full cream is usually always recommended as it sets up more solid in recipes.
- Lemon juice & zest: For a true hit of lemon, use zest and juice. The natural essential oils are held in the skin and have an incredible aroma in them. This will give you a wonderful lemon flavour and smell but the tanginess will come from the juice. Invest in a good micro plane tool (take care!) so that you can harvest as much of the yellow skin but leave behind the bitter white part.

How to make Aussie Jelly Cheesecake Slice
- Line a 18cm x 28cm / 7x11inch rectangular slice tin with baking paper and set aside.
- Make the base
- Using a rolling pin or food processor, crush the biscuits until they resemble fine breadcrumbs. Drizzle in the melted butter and mix until well combined.
- Dump the mixture into the lined slice tin and press down firmly. Use a piece of baking paper atop the base to help you compress and level. Place in the fridge to chill.
- Using a rolling pin or food processor, crush the biscuits until they resemble fine breadcrumbs. Drizzle in the melted butter and mix until well combined.
- Make the jelly
- Prepare flavoured jelly/jello crystals according to the instructions on packet and set aside to cool to room temperature on the workbench. DO NOT REFRIGERATE! It needs to be cool and pourable on the cheesecake layer when it is time.
- Make the filling
- In a small bowl combine gelatin and half of the water. Sit aside to bloom for 5 minutes before adding the rest of the hot water, stirring until dissolved. If the water is not hot enough, microwave for 10 seconds until it is.
- Using the food processor again or a large bowl, mix the cream cheese, sweetened condensed milk and lemon zest and juice until it is smooth and creamy. Add the dissolved gelatin mixture and mix using a whisk until completely combined.
- Pour the cheesecake mixture over the cooled biscuit base. Smooth out and level with a spoon before refrigerating for 1 hour or until set.
- Bring it together
- Gently pour the cooled jelly over the top of the cheesecake layer. Smooth out and level before refrigerating for 3-4 hours or until fully set. It may also be easier to keep the slice in the fridge and pour the jelly onto it while it remains on the shelf. This prevents moving the slice which can lead to sloshing and spilling.
- Serve
- Using a sharp knife, cut into slices. See tips above for getting neat cuts. Serve cold and enjoy.

Setting you up for success – Tips, Tricks & FAQs
- Use baking paper: Be sure to line the bottom of the pan with baking paper for easy removal. Better yet, use a springform or pan makes it easier to remove the jelly slice from the pan without damaging the layers.
- Use a food processor or blender for the biscuit base: To make the biscuit base, use a food processor to crush the biscuits into fine crumbs. This will ensure that the base is evenly textured and not too chunky.
- Press the biscuit base firmly: Use the back of a spoon or a flat-bottomed cup to press the biscuit base firmly into the bottom of the pan. This will help the base hold its shape and prevent it from crumbling when you cut the jelly slice.
- Use full-fat block cream cheese: Full-fat cream cheese will give the creamy topping a richer and more stable texture. Low-fat cream cheese can make the topping too soft and runny. Use blocks of cream cheese, not spreadable tubs, they contain additives that prevent the filling from firming up.
- Beat the cream cheese and sugar until smooth: To make the creamy topping, beat the cream cheese and sugar together until the mixture is smooth and creamy. This will help the topping hold its shape and prevent it from becoming lumpy.
- Chill the cream layer before adding jelly: This will help prevent the layers from mixing together and give the jelly slice a neat, layered appearance.
- Decorate with fresh fruit: Adding fresh fruit on top of the jelly slice can add a pop of colour and flavour. Try using fresh berries, kiwi, or mango to make your jelly slice look a little fancy and even more delicious!
Storing Suggestions & Common Questions
Store covered in the refrigerator for three days. To preserve its freshness ensure it is in an airtight container.
It is not recommended to freeze as gelatin doesn’t freeze at all! Freezing changes its structure causing it to basically separate into a liquid mess.
The jelly slice needs to be solid and quite set. Yes, you can eat it earlier but you risk it falling apart and being unable to cut neat, clean slices.
Yes, gelatin helps the cheesecake layer solidify and firm up. I have not tested it with agar but this would make it vegetarian.
Simply submerging the entire length of your knife (very sharp) in a jug or cup filled with very hot water. Once the blade heats up, remove it. wipe it down with a cloth and cut a slice. Repeat.
Looking for more yumminess?
Did you make this recipe?
Let us know how it turned out for you! Comment below, tag @missmolly_makes on Instagram using #missmollymakes or visit us LIVE at twitch.tv/missmollymakes.com

Aussie Jelly Cheesecake Slice
Equipment
- 1 18cmx28cm / 7x11inch rectangular slice tin
- Food processor, blender or 2 large bowls
Ingredients
- 85 gm (3 oz) flavoured jelly/jello crystals strawberry, raspberry, port wine are common but anything works
- 250 gm (9 oz) plain biscuits/cookies shortbread or graham crackers
- 165 gm (¾ cups) salted butter melted, cooled
- 85 g (⅓ cups) water
- 3 tsp unflavoured gelatin powder
- 225 gm (8 oz) block cream cheese softened
- 395 g (14 oz) full fat sweetened condensed milk
- ¼-⅓ cup juice juice of 2 lemons
- ½ tsp lemon zest
Instructions
- Line a 18cm x 28cm / 7x11inch rectangular slice tin with baking paper and set aside.
- Using a rolling pin or food processor, crush the biscuits until they resemble fine breadcrumbs.Drizzle in the melted butter and mix until well combined.
- Pour the mixture into the lined slice tin and press down firmly. Use a piece of baking paper atop of the base to help you compress and level. Place in the fridge to chill.
- Prepare flavoured jelly/jello crystals according to the instructions on packet and set aside to cool to room temperature on work bench. DO NOT REFRIGERATE! It needs to be cool and pourable on the cheesecake layer when it is time.
- In a small bowl combine gelatin and half of the water. Sit aside to bloom for 5 minutes before adding the rest of the hot water, stirring until dissolved. If the water is not hot enough, microwave for 10 seconds until it is.
- Using the food processor again or a large bowl, mix the cream cheese, sweetened condensed milk and lemon zest and juice until it is smooth and creamy. Add the dissolved gelatin mixture and mix using a whisk until completely combined.
- Pour the cheesecake mixture over the cooled biscuit base. Smooth out and level with a spoon before and refrigerating for 1 hours or until set.
- Gently pour the cooled jelly over the top of the cheesecake layer. Smooth out and level before refrigerating for 4 hours or until firm and fully set. It may also be easier to keep the slice in the fridge, and pour the jelly onto it while it remains on the shelf. This prevents moving the slice which can lead to sloshing and spilling.
- Using a sharp knife, cut into slices. See tips above for getting neat cuts. Serve cold and enjoy.
Nutrition
Nutritional information is only an estimate. The accuracy of the nutritional information for any recipe on this site is not guaranteed.

Hiya, I’m Lauren but you can call me Molly!
Former OR Nurse and self-taught home cook passionate about Approachable, No-Nonsense recipes to help you level up in the kitchen. Together with my husband Troy, we create simplified dishes for busy people with easy-to-find ingredients!
To learn more about us, our cooking show and more, click here!
— Recent Recipes —
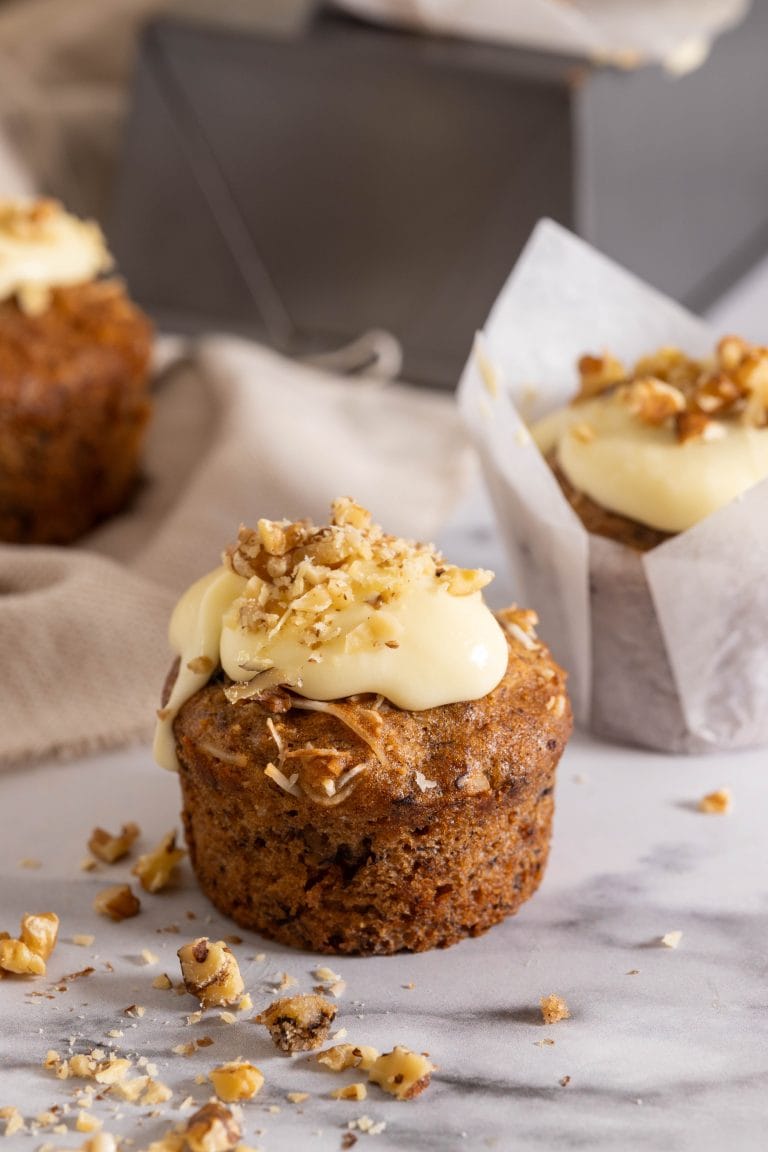
- Banana Coconut & Pineapple (Hummingbird) Cupcakes with Cream Cheese Frosting
- Crispy Pork & Mushroom Dumplings

- Hunter’s Hearty Beef Pie

- Seared Beef Sushi / Aburi

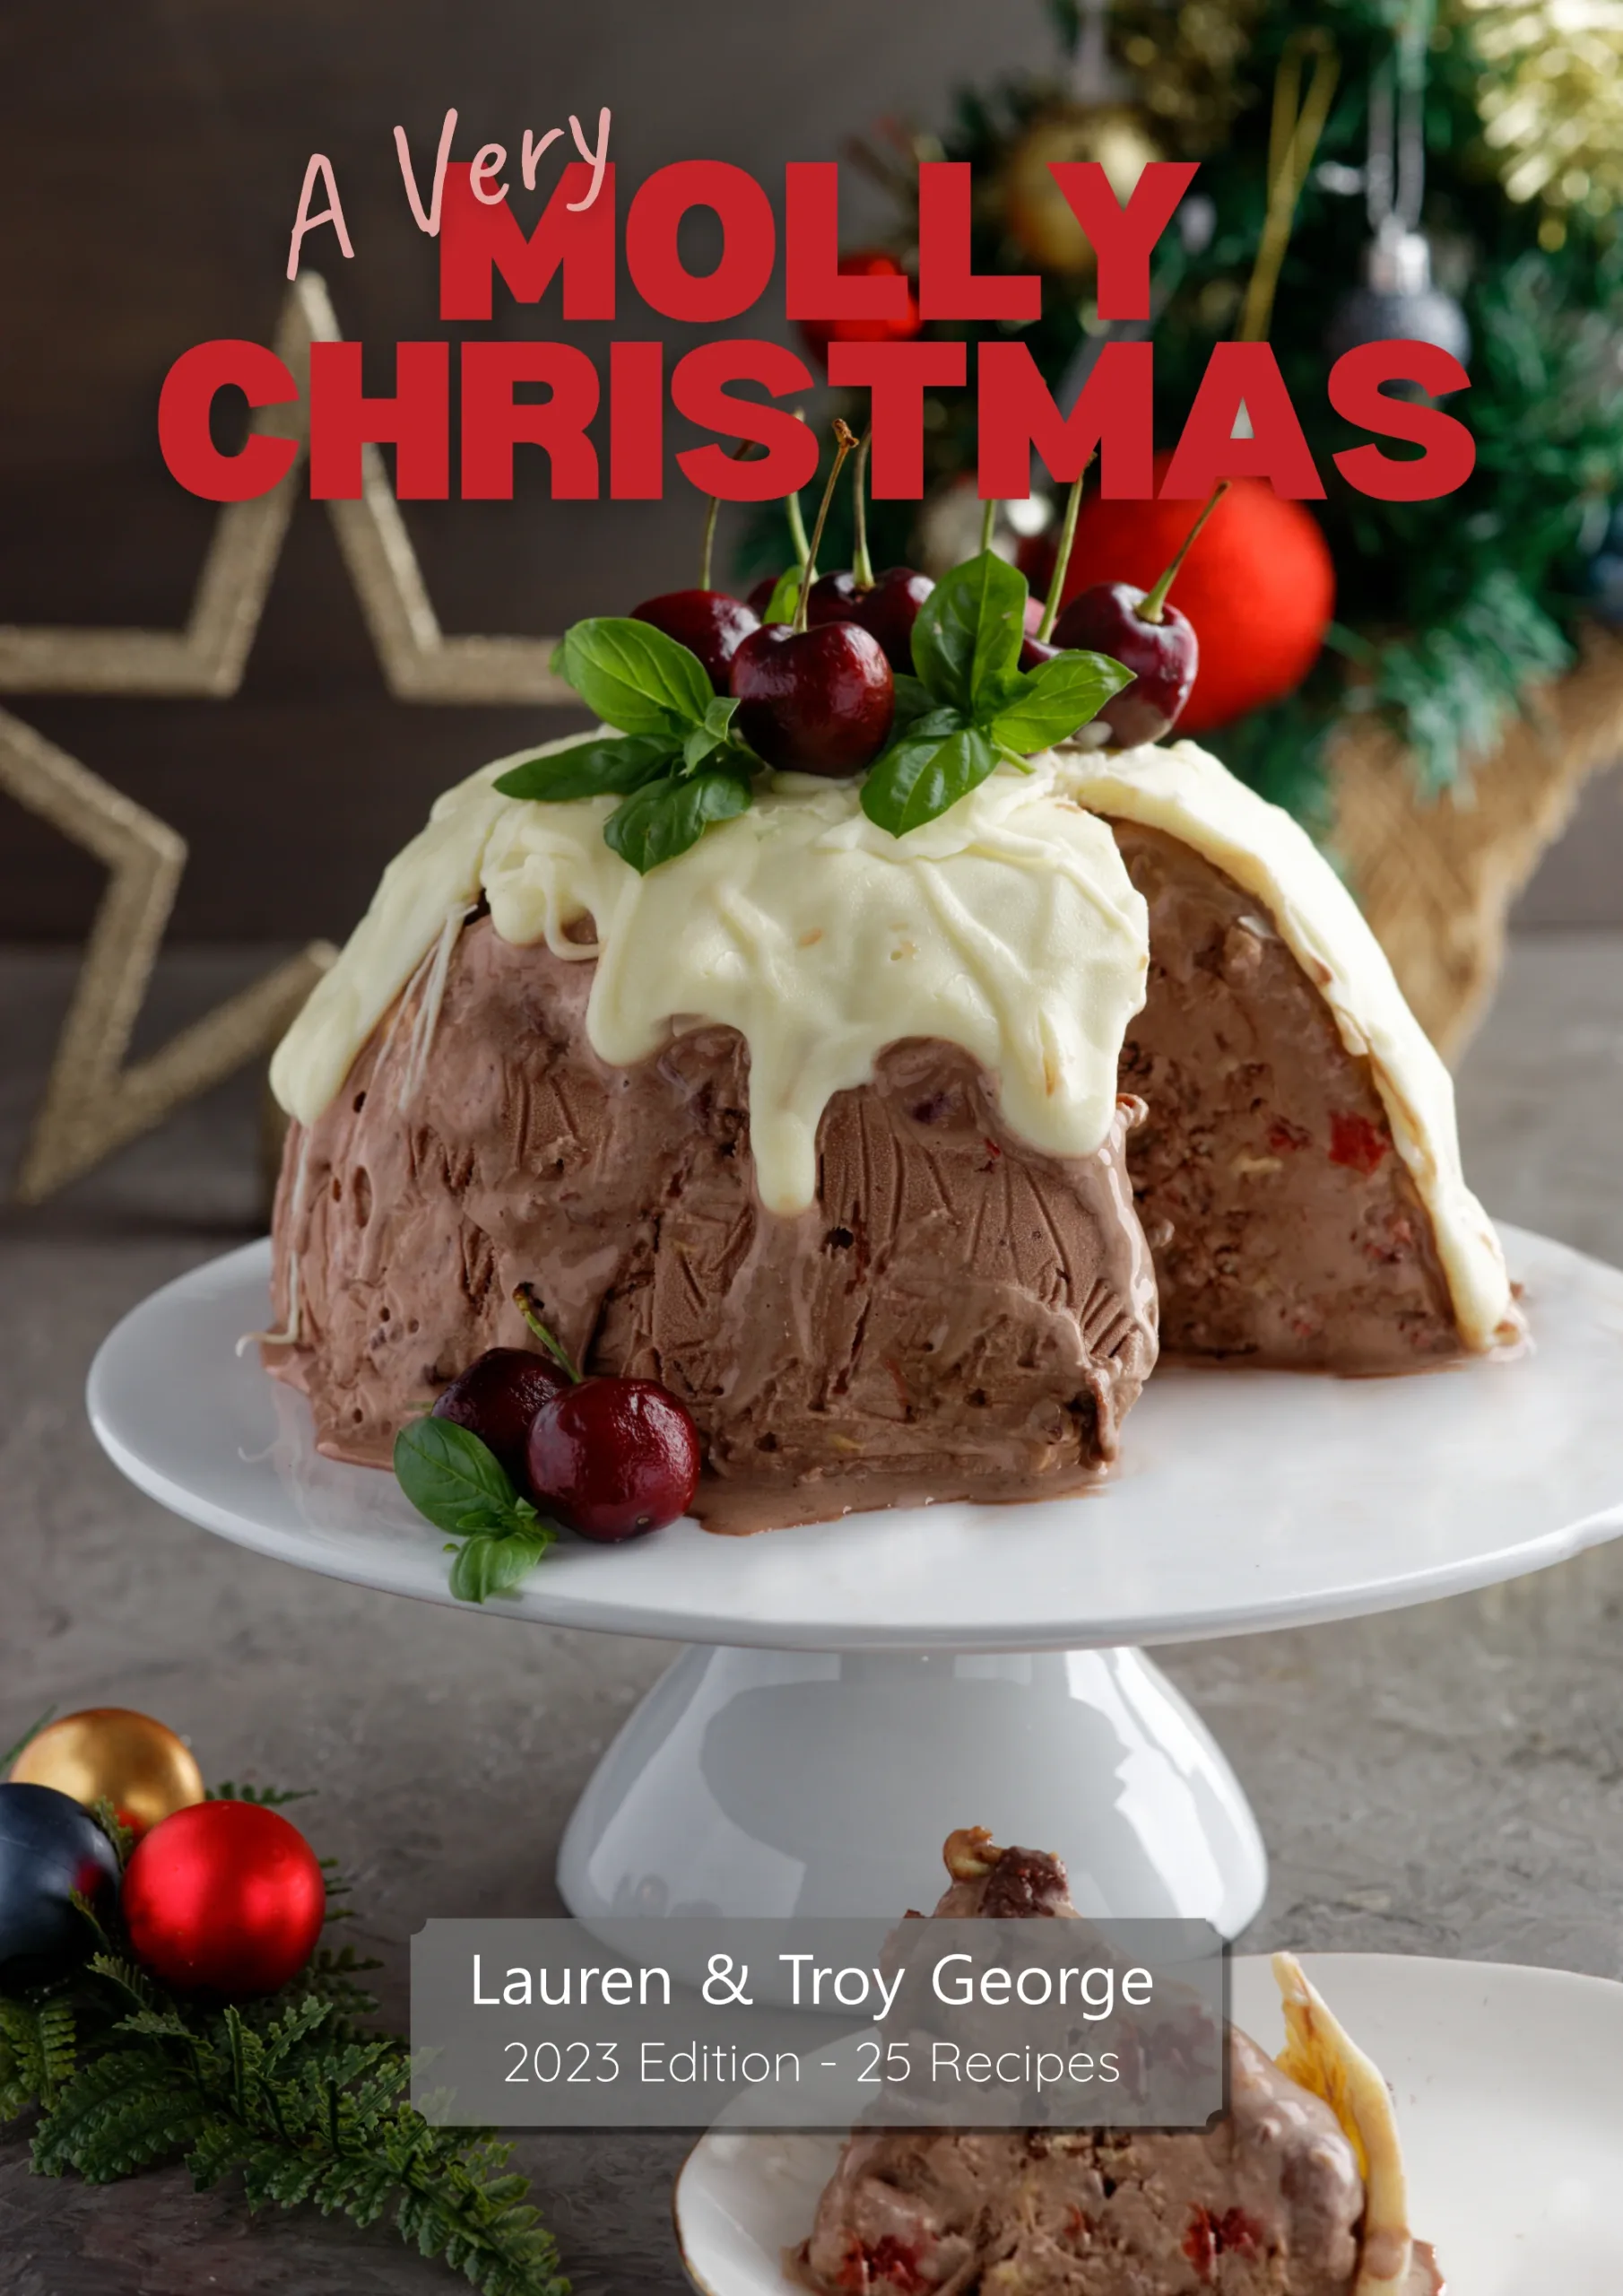
Our Latest ebook
It’s full of Aussie summer recipes, not just from Christmas!