Easy Bagels
Hot ‘n’ fresh homemade easy bagels. Skip the store-bought and bakery because bagels are easier than you think. The only easy chewy bagel recipe you’ll ever need. Chewy, dense and topped with anything that your heart desires. You’ll be making these as a new family favourite.
Why this recipe is amazing
Flavour & texture: Bagels are traditionally dense and chewy. This recipe is no different but the texture can be altered if you desire something specific. A little extra water and proof time will give you slightly less density making these the perfect bagel to appeal to cater to your preferences.
Difficulty: 3/5. This recipe is simple but involved a few steps. The shaping may be a little tricky but check the supplied video for tips.
Time: 2.5 hours including the mixing, proofing, boiling and baking.
Versatility: The toppings and mix-ins are endless. Try olives, sundried tomatoes, fresh garlic and herbs. Don’t forget the sweet stuff like cocoa, choc chips, berries. Let me know if you’d like a recipe for flavoured bagels.

What ingredients are needed:
Warm Water: Bagels have a lower hydration, which means that there is a low percentage of water in this recipe, 62.5%. Lower percentages of water creates a denser, chewier dough and that also works to activate the yeast. A temperature of around 41-46°C/110-115°F is ideal but cooler water is okay just ensure that it is not above the aforementioned temperature as it risks killing the yeast.
Instant yeast: Instant yeast is stronger, faster and more stable than dry yeast but you can substitute with what you have. You can also use around 50-100gm sourdough starter (reduce the water slightly) but I will be realising a specific sourdough bagels soon.
Bread flour: Bread flour is recommended due to its higher protein (more gluten) levels which leads to a stronger structure and chewier texture. Plain flour is certainly okay for this recipe but your bagels will be significantly lighter and missing the characteristic chewy texture.
Brown sugar: The main reason sugar is added to many foods (including bread ) is to improve a variety of factors such as shelf life, texture, browning, and taste. Sugar, just the same as salt, acts as a preservative against mould and also helps bread keep its moisture.
Salt: A huge part of bread baking but all cooking needs SALT! While enhancing the flavour of all ingredients in the recipe and giving the focaccia the ‘bready’ flavour we all love, it helps to tighten the gluten structure. That strengthening allows the dough to trap and hold more carbon dioxide more efficiently.
Water bath with Honey/ Molasses: Bagels are traditionally boiled in a pot of bubbling water before they are baked, which gelatinises the flour on the surface and helps set the crust and keep it hard. This creates the chewy texture we know and love. The sugar in the honey or molasses helps to create a brown exterior as it bakes.

How to make Molly’s Easy Bagels
Prepare the dough
- Into a large bowl or a stand mixer, stir together water, yeast, and honey to dissolve. Sit for 2-4 minutes to ensure it is bubbly and active.
- Add in the oil, flour and salt and mix until combined. Be aware that it will be very stiff and will look dry but cover and set aside for 10 minutes to allow the flour to hydrate.
- Mixer Method: Using the stand mixer and dough hook, knead the dough on medium speed until it is smooth and elastic. It may take 8-10 minutes but the dough will start to clean the sides of the bowl when stretched thin, it should becomes see-through without breaking. This is called the window-pane test.
- Hand Kneaded: Turn the dough out onto a lightly floured surface. Knead the dough for 8-10 minutes until it is smooth and elastic. Ensure it passes the ‘window pane test’. Gently spread the dough apart. If properly kneaded, the dough should stretch, without tearing so that you can see through.
- Lightly grease a large bowl with oil or non-stick spray. Place the dough in the bowl, turning it to coat all sides in the oil. Cover the bowl with baking paper, plastic wrap, or a clean kitchen towel. Allow the dough to rise at room temperature for 60-90 minutes or until double in size.
- Line two large baking trays with baking paper or silicone baking mats.
Shape the bagels
- When the dough is ready, punch it down to release any air bubbles. Divide the dough into 10 equal pieces. Shape each piece into a ball. Press your index finger through the centre of each ball then gently stretch the dough by spinning it on your two index fingers, until you have a bagel ring shape and the hole in the middle has a hole about 2.5- 3cm/1.5 – 2 inches in diameter. Loosely cover the shaped bagels with tea towel and rest for 5-10 minutes as you prepare the water bath.
- Preheat oven to 220°C/420°F .
Water bath
- Half fill a large, wide pot with water. Whisk in the honey/molasses. Bring water to a boil, then reduce heat to medium-high. Drop bagels in, 2-4 at a time, making sure they have enough room to float around. Cook the bagels for 1 minute on each side.
Seasoning and bake
- Combine the seasoning ingredients together. Using a pastry brush, brush the egg wash on top and around the sides of each bagel. Dip into the everything bagel seasoning. Place 4 bagels onto each lined baking sheet. Bake for 20-25 minutes, rotating the pan halfway through. You want the bagels to be a dark golden brown. Remove from the oven and allow bagels to cool on the baking tray for 20 minutes, then transfer to a wire rack to cool completely.
- Slice, toast, top, whatever you want! Cover leftover bagels tightly and store at room temperature for a few days or freeze (cut in half).

More Breakfast Ideas


Setting you up for success – Tips, Tricks & FAQs
- How long can Bagels last? Fresh bagels are best eaten on the day or within 2 days. Due to their low water content, they will go hard and dry quickly.
- Can I make flavoured Bagels? Of course! The toppings and mix-ins are endless. Try olives, sundried tomatoes, fresh garlic and herbs. Don’t forget the sweet stuff like cocoa, choc chips, berries. Let me know if you’d like a recipe for flavoured bagels.
- How do I store Bagels? Fresh bagels are best eaten on the day or within 2 days. Due to their low water content, they will go hard and dry quickly. Store in an airtight container or even freeze them! It’s best to freeze when cut in half so that they can be quickly defrosted in the toaster.
- Can you freeze Bagels?: Yes and I recommend it! Due to their low water content, bagels will go hard and dry quickly. Simply cut in half and place into a Ziplock bag or container before freezing. Then can be quickly defrosted in the toaster and cooked until desired.

Did you make this recipe?
Let us know how it turned out for you! Comment below, tag @missmolly_makes on Instagram using #missmollymakes or visit us LIVE at twitch.tv/missmollymakes.com

Easy Bagels
Equipment
- stand Mixer
- large bowl
- large, wide pot
- 2 baking trays
Ingredients
Dough
- 375 ml (1.5 cups) water warmed
- 8 g (2.75 tsp) instant yeast
- 600 g (4 cups) plain flour
- 30 g (1 tbsp) brown sugar
- 8 g (1.5 tsp) salt
Water Bath
- 2 litres (8 cups) water
- 85 g (0.25 cups) honey
Topping
- 2 tbsp poppy seeds
- 2 tbsp sesame seeds
- 1 tbsp onion flakes
- 1 tbsp garlic powder
- 1 tbsp (1 tsp) salt
extras
- 1 egg whisked
Instructions
Prepare the dough
- Into a large bowl or use a stand mixer, add the flour, sugar, yeast, water and salt. Mix well until combined and comes together to create a dough. It will be very stiff and will look somewhat dry.
- Turn the dough out onto a lightly floured surface. With lightly floured hands, knead the dough for 6-10 minutes. Ensure it passes the 'window pane test'. Gently spread the dough apart. If properly kneaded, the dough should stretch, without tearing so that you can see through.
- Lightly grease a large bowl with oil or nonstick spray. Place the dough in the bowl, turning it to coat all sides in the oil. Cover the bowl with baking paper, plastic wrap, or a clean kitchen towel. Allow the dough to rise at room temperature for 60-90 minutes or until double in size.
- Line two large baking trays with baking paper or silicone baking mats.
Shape the bagels
- When the dough is ready, punch it down to release any air bubbles. Divide the dough into 8 equal pieces. (Just eyeball it– doesn't need to be perfect!) Shape each piece into a ball. Press your index finger through the center of each ball to make a hole about 2.5- 3cm/1.5 – 2 inches in diameter.Loosely cover the shaped bagels with kitchen towel and rest for a few minutes as you prepare the water bath.
- Preheat oven to 220°C/420°F .
Water bath
- Half Fill a large, wide pot with water. Whisk in the honey. Bring water to a boil, then reduce heat to medium-high. Drop bagels in, 2-4 at a time, making sure they have enough room to float around. Cook the bagels for 1 minute on each side.
Seasoning and bake
- Combine the seasoning ingredients together. Using a pastry brush, brush the egg wash on top and around the sides of each bagel. Dip into the everything bagel seasoning. Place 4 bagels onto each lined baking sheet. Bake for 20-25 minutes, rotating the pan halfway through. You want the bagels to be a dark golden brown. Remove from the oven and allow bagels to cool on the baking tray for 20 minutes, then transfer to a wire rack to cool completely.
- Slice, toast, top, whatever you want! Cover leftover bagels tightly and store at room temperature for a few days or freeze (cut in half).
Nutrition
Nutritional information is only an estimate. The accuracy of the nutritional information for any recipe on this site is not guaranteed.
Did you make this recipe?
Please let me know how it turned out for you! Leave a comment below and tag @missmollymakes on Instagram and hashtag it #missmollymakes.

Hiya, I’m Lauren but you can call me Molly!
Former OR Nurse and self-taught home cook passionate about Approachable, No-Nonsense recipes to help you level up in the kitchen. Together with my husband Troy, we create simplified dishes for busy people with easy-to-find ingredients!
To learn more about us, our cooking show and more, click here!
— Recent Recipes —
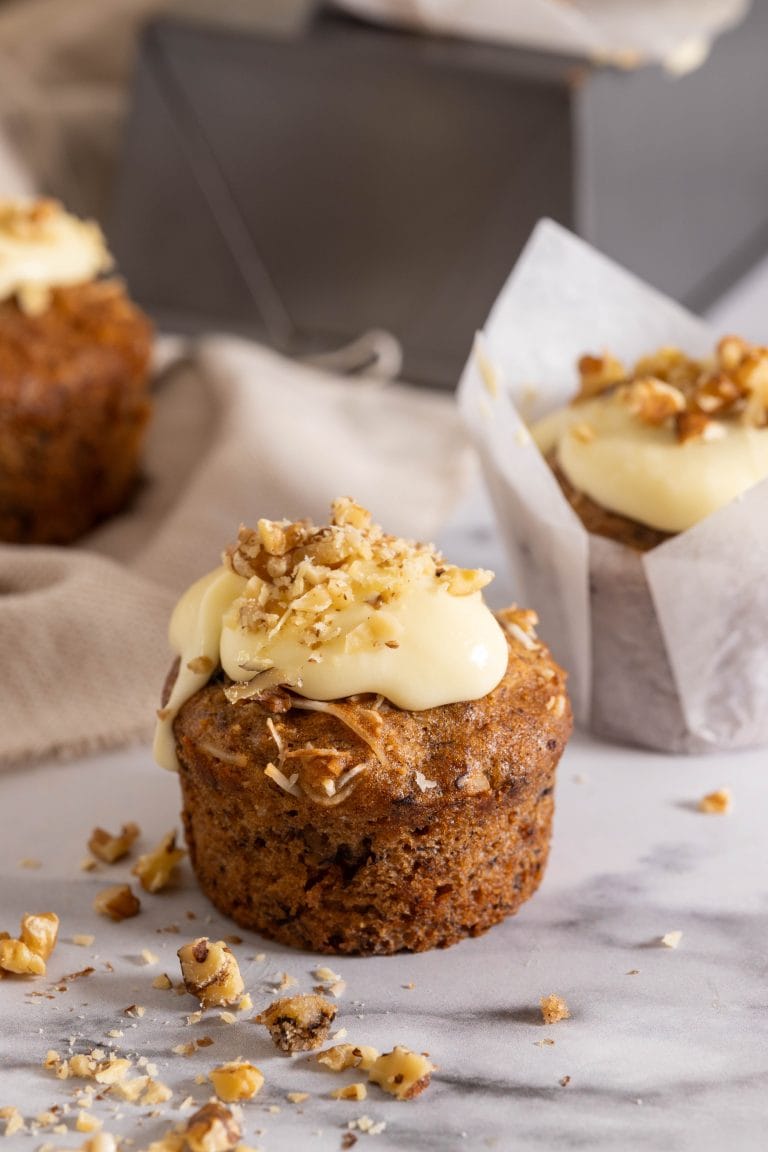
- Banana Coconut & Pineapple (Hummingbird) Cupcakes with Cream Cheese Frosting
- Crispy Pork & Mushroom Dumplings

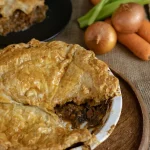
- Hunter’s Hearty Beef Pie
- Seared Beef Sushi / Aburi

Our Latest ebook
It’s full of Aussie summer recipes, not just from Christmas!