This is not your regular burger bun recipe, it’s a cool burger bun recipe. It’s easy, flipping delicious and it can be used for almost anything from yes, soft burger buns but subs/long rolls, scrolls, pockets… whatever! It really is my ‘Base’ recipe for a lot of things, hence why it gets the name ‘best all round’.
Why are these burger buns so good?
Wonderfully soft yet not too airy. They have a slightly firmer burger structure so you can be confident that they won’t squish into nothingness.
You don’t need a stand mixer but without one, it involves a little more work. 1hr30mins is the estimated time but depends on your environment for rising. They are fantastic when made ahead, frozen
Try flavoured rolls or different shapes. Make Subs, knot rolls, and scrolls using olives, fresh garlic and herbs. So many uses!

What ingredients are needed:
Bread or Plain AP Flour: Bread flour is recommended over plain flour due to its higher protein (more gluten) levels which lead to a soft yet chewier and sturdier bun. Plain flour can be used for a softer and more tender bun, but with its lower protein (less gluten) it needs to be kneaded less. If using a stand mixer, use caution not to over-knead with plain AP flour as it will split, become very sticky and not hold any air.
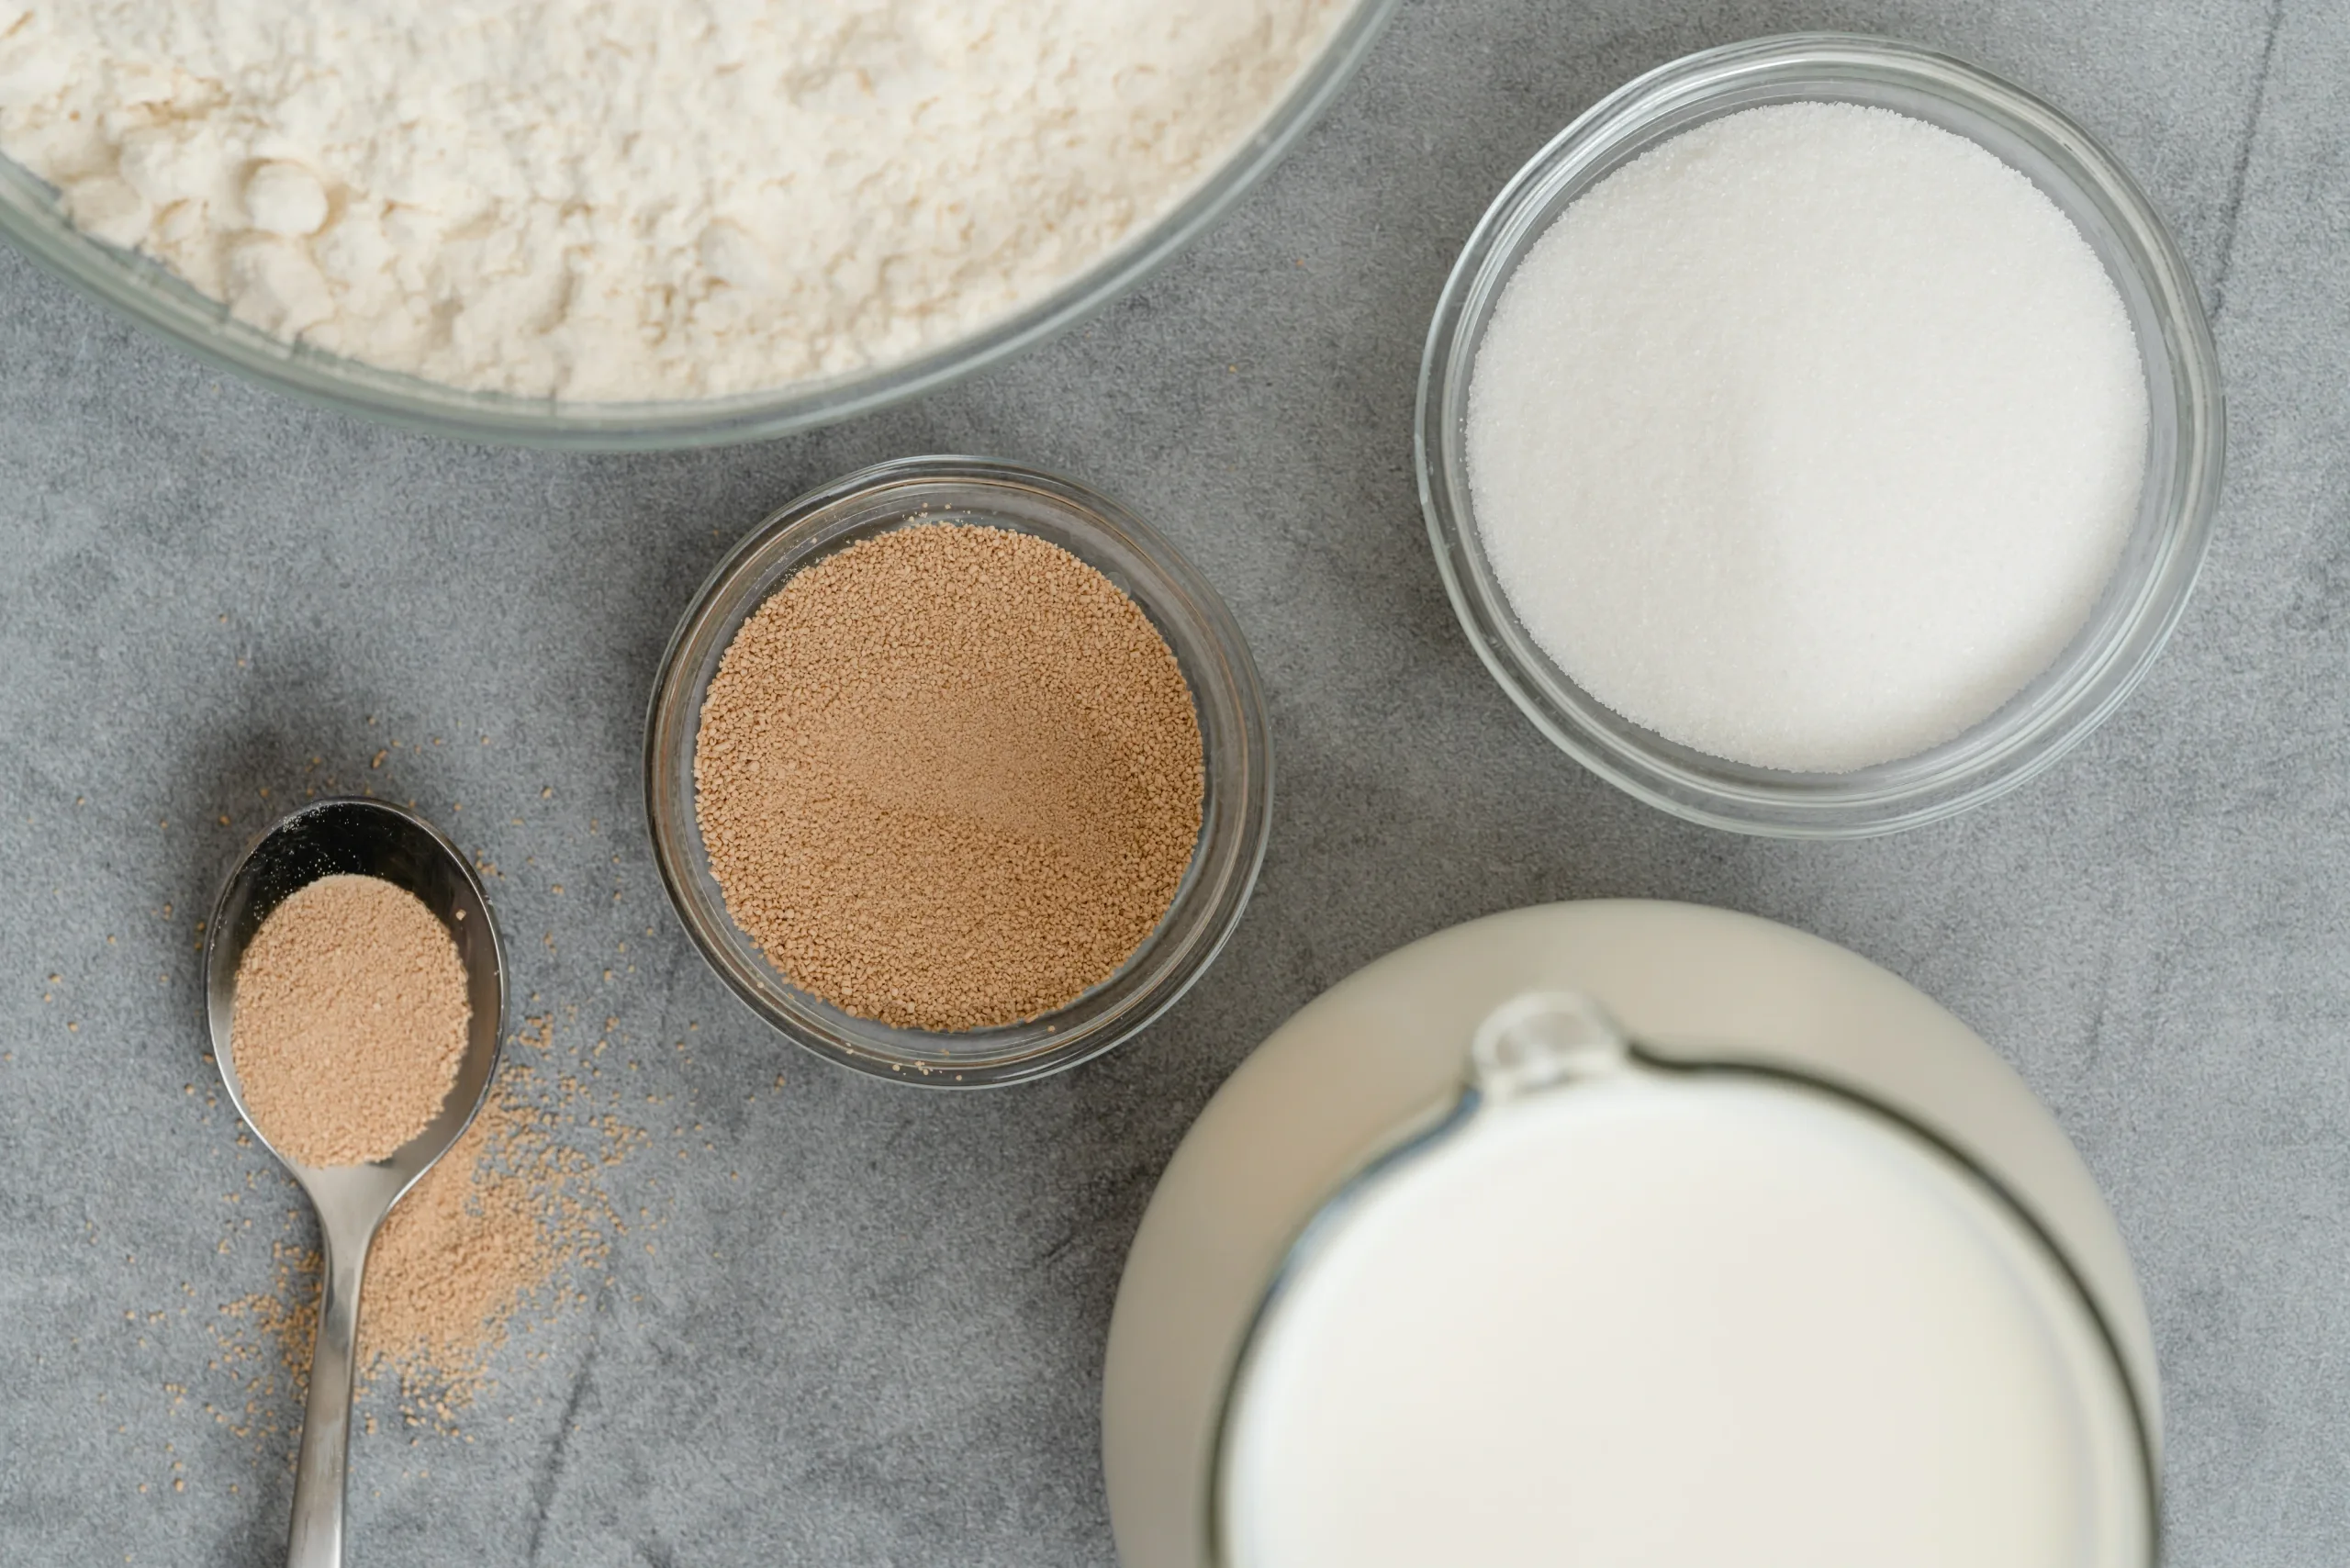
Instant yeast: Instant yeast is more robust, faster and more stable than dry yeast but you can substitute with what you have. You can also use around 50-100gm sourdough starter (reduce the water slightly) but I will be realising specific sourdough focaccia soon.
Warm Water: A temperature of around 38°C/100°F is ideal but cooler water is okay just ensure that it is not above the aforementioned temperature as it risks killing the yeast.
Sugar: While the sugar adds minimal sweetness, it provides energy for the yeast to multiply and grow.
Salt: A huge part of bread baking but all cooking needs SALT! While enhancing the flavour of all ingredients in the recipe and giving the focaccia the ‘bready’ flavour we all love, helps to tighten the gluten structure. That strengthening allows the dough to trap and hold more carbon dioxide efficiently.
Butter or Oil: You can use either and often change it up depending on what I’m using the buns for or even, what I have handy at that moment. Butter will ultimately give you a richer flavour in comparison with the oil. A Neutral oil like canola, peanut or sunflower is recommended.

How to make Soft Burger Buns
- Prepare the Dough:
- Into a large bowl or bowl of a stand mixer, add the water, yeast and sugar. Let the mixture stand for 5 minutes for the yeast to activate.
- Add flour, salt, oil and desired additions, then mix until combined. I like to use a chopstick to stir, but a spatula or spoon will do. The dough will be a little scraggy but cover and set aside for 30 minutes to allow the flour to hydrate.
- Stand Mixer Method:
- Using the stand mixer and dough hook, knead the dough on medium speed until it is smooth and elastic. It may take 12-15 minutes but the dough will start to clean the sides of the bowl when stretched thin, it should become see-through without breaking. This is called the window-pane test.
- Cover and set the dough aside at room temp, until it doubles in size, 1-1½ hours.
- Non-Mixer Method:
- Every 10 minutes do stretches and folds. Use your hand to take one edge of the dough, stretch it upwards, and then fold it toward the centre of the bowl. Turn the bowl and repeat until all of the dough has been stretched. Cover then repeat this process 3- 4 more times with a 10-minute break between each. You’ll know when the S&Fs are finished when the dough completes the ‘window pane test’- when the dough is stretched thin and becomes see-through without breaking.
- Cover and set the dough aside at room temp, until it doubles in size, 1-1½ hours.
Sticky dough is normal!
This recipe is a ‘Higher hydration’ dough, meaning that it has a higher ratio of water to flour. It will be sticky initially due to two main factors: flour absorption and insufficient gluten development.
- Flour absorption = Give it time to rest before kneading. High-hydration dough requires more water to be fully absorbed by the flour. If the flour doesn’t have time to absorb the water efficiently, it can remain sticky. Allow the dough to rest and hydrate properly during the autolyse phase or initial mixing to alleviate stickiness.
- Insufficient gluten development = More kneading. The sticky dough can occur when the gluten, the protein responsible for structure and strength in the dough, is not adequately developed. High-hydration dough requires more time and effort to properly develop gluten. Techniques like the stretch and fold method or longer kneading times can help encourage gluten development. Ensuring sufficient mixing or kneading time will make the dough more elastic and less sticky.
- Adding more flour is the LAST resort. Adding more flour while kneading will alter the hydration level and overall consistency of the dough. It can also disrupt gluten formation, resulting in a less elastic and less airy final product. When in doubt, dough benefits from additional rest time (10-20 minutes) and a little extra kneading. Set a timer and if using bread flour, leave the machine running if required, don’t hover over it. Trust the process. If after 10 minutes with minimal change and you are worried, add a teaspoon of flour at a time and knead again until it just comes together.
How to shape Burger Buns
- Turn the proofed dough out onto a lightly floured work surface. Portion the dough into the desired number of pieces (12 buns, 20 sliders), ensuring they are equal in size. Cover to ensure they don’t dry out.
- Take each piece of dough and lightly flatten, pulling the edges inwards to the centre. Flip over and roll along the benchtop to create tighter surface tension.
- Place the rolled bun onto a tray lined with baking paper or a silicone mat. Repeat with the rest of the dough. Allow space between each bun. Cover with a greased piece of plastic wrap and allow to rise until doubled, about an hour.
Bake the Burger Buns
- Preheat the oven to 180°C/350°F degrees.
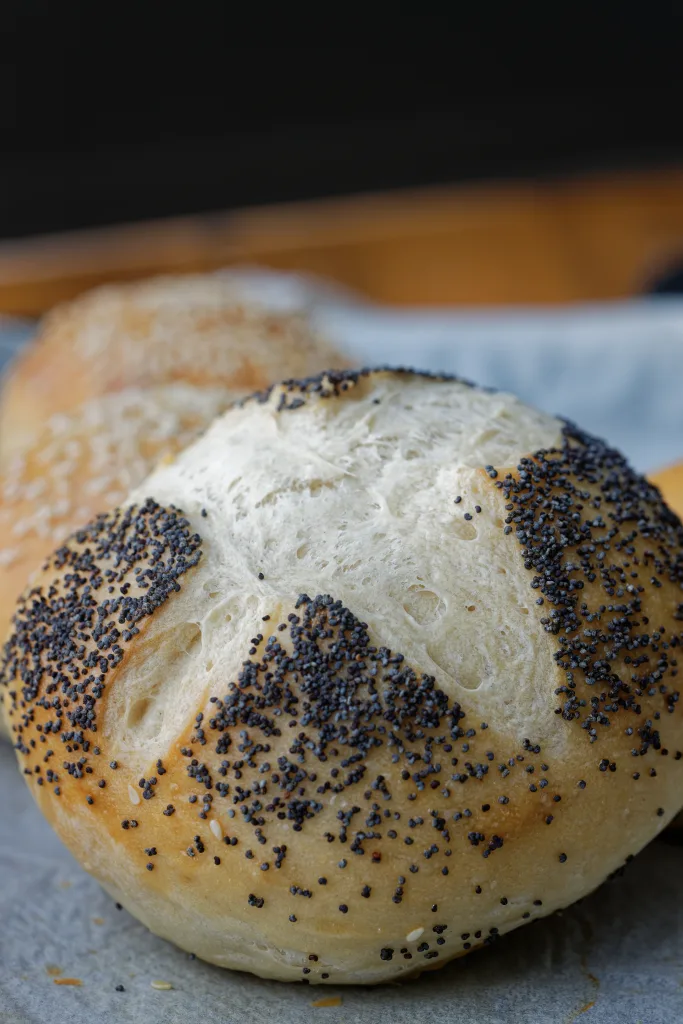
- Baste with egg wash and even sprinkle with some sesame or poppy seeds if you want to be fancy.
- Bake for 25 minutes or until golden. Remove from oven and place on a heatproof surface.
- Cover rolls with a dish/tea towel for 10 minutes. The steam will prevent the hard crust from forming and give a delicious soft exterior.
- Serve warm or let the loaves cool before cutting crossways and add with your favourite sandwich fillings.
Setting you up for success – Tips & Tricks
- Choose a flour: While the recipe mentions that bread and plain AP flour can be used. Plain flour will generally result in a softer and more tender texture. Bread flour has a higher protein content, which helps create a chewier and sturdier bun.
- Correctly measure the ingredients: Scooping flour out of the container can actually compress the flour and you’ll possibly end up with ~50% extra! Compressed flour = Over-measuring = dry, dense and cakey baked products. Accurate measurement equals consistent results. Use a kitchen scale to weigh the ingredients, especially the flour, for precise measurements.
- Activate the yeast: Ensure the water is warmed to the right temperature (38°C/100°F) and let the yeast and sugar mixture stand for 5 minutes to activate the yeast. This step ensures that the yeast is alive and thus, the buns will rise properly.
- Hydrate the flour: Autolyse is a technique where flour and water are mixed and left to rest before kneading begins. This resting period hydrates the flour, promotes gluten development, improves dough hydration, enhances texture and flavour, and is especially useful for high-hydration dough.
- Is it kneaded enough? Do the Window-pane test: To check if the dough is properly kneaded, perform the window-pane test. Take a small piece of dough and stretch it gently. If it becomes thin and see-through without breaking, the dough is ready. If not, continue kneading or performing stretches and folds.
- Proof properly for soft & fluffy buns: The proofing process allows the dough to rise and develop its flavour. Ensure that the dough is proofed in a warm, draft-free area. If the room is too cold, place the dough in a slightly warmed oven (turned off) with a bowl of hot water to create a warm environment. This may take some time but it’s crucial for fluffy buns.
- Cool completely before slicing: Allow the bread or buns to cool completely on a wire rack. Cutting into the bread while still warm can result in a gummy texture and squished slices.
- Store properly: To maintain the softness and freshness of your burger buns, store them in a plastic bag or airtight container once they have completely cooled. They can be stored at room temperature for 2-3 days, or you can freeze them for more extended storage.
Frequently Asked Questions
When I made this dish on our live cooking show, some community members asked:
There could be several reasons why your dough didn’t rise: The yeast may have been inactive or expired. Make sure to check the expiration date and use fresh yeast.
The water used to activate the yeast might have been too hot, which can kill the yeast. Ensure that the water is warmed to the correct temperature range (around 38°C/100°F).
The dough may not have been proofed in a warm enough environment. Make sure the room is warm and draft-free, or consider using alternative methods like a slightly warmed oven or proofing box.
Dense bread can be caused by several factors:
– Insufficient kneading or underdeveloped gluten. Ensure that you knead the dough enough to develop gluten, which gives the bread structure and helps it rise.
– Too much flour in the dough. Adding too much flour can make the dough dry and dense. Make sure to measure the flour accurately, or consider adjusting the hydration of the dough.
– Insufficient proofing time. If the dough is not given enough time to rise and double in size, the bread can turn out dense. Allow ample time for proofing, and make sure the environment is warm enough.
Bread collapsing after rising can be caused by over proofing. If the dough is left to rise for too long, the gluten structure weakens, and the bread may collapse during baking. Pay attention to the dough’s volume and watch for signs of over proofing, such as the dough becoming overly puffy or starting to sink.
You can totally add oil in place of the butter. Canola oil or rice bran oil are great because they are neutral flavoured (no flavour) but you can also use oil or infused oil to give the buns extra flavour. Try rosemary or the oil from a jar of sundried tomatoes!
Allow them to sit for at least 10 minutes. This gives them time to cool. For an extra soft crust, place a dish towel over top to help the buns steam themselves.
Yes! You have two options. 1. After step 7, you can freeze unbaked or 2. semi-bake until just lightly brown, cool then you can freeze for up to 6 months. To defrost, place onto a lined tray, and allow to sit at room temp for 10 minutes before baking at 180°c/ 350°f as per step 8.
Keep buns in an airtight container at room temperature for 3-4 days.
Looking For More Yumminess?
Whether it is more simple bread recipes or yummy baked treats obviously we have you covered!
Did you make this recipe?
Let us know how it turned out for you! Comment below, tag @missmolly_makes on Instagram using #missmollymakes or visit us LIVE at twitch.tv/missmollymakes.com

The Best Soft Burger Buns
Equipment
- large bowl
- shower cap or cling film
- 2 lined baking trays
Ingredients
- 500 g (2 cups) water warmed to 38°C/100°F
- 13 g (1 tbsp) instant yeast
- 15 g (1 tbsp) white sugar
- 8 g (2½ tsp) salt
- 110 g (⅓ cup) butter or olive oil
- 650 g (4¼-½ cups) Bread flour Plain AP may be used but see notes/
Optional Mix-Ins (Choose one or multiple)
- Italian Seasoning
- parmesan or cheddar grated
- sundried tomatoes finely chopped
Instructions
- Into a large bowl or bowl of a stand mixer, add the water, yeast and sugar. Let the mixture stand for 5 minutes for the yeast to activate.
- Add flour, salt, oil and desired additions, then mix until combined. I like to use a chopstick to stir, but a spatula or spoon will do. The dough will be a little scraggy but cover and set aside for 30 minutes to allow the flour to hydrate.
- Mixer Method: Using the stand mixer and dough hook, knead dough on medium speed until it is smooth and elastic. It may take 12-15 minutes but the dough will start to clean the sides of the bowl when stretched thin, it should becomes see-through without breaking. This is called the window-pane test.Non-Mixer Method: Every 10 minutes, do stretches and folds. Use your hand to take one edge of the dough, stretch it upwards, then fold it toward the centre of the bowl. Turn the bowl and repeat until all of the dough has been stretched. Cover then repeat this process 3- 4 more times with a 10 minute break between each. You'll know when the S&F's are finished when the dough completes the 'window pane test'- when the dough is stretched thin and becomes see-through without breaking.
- Set dough aside at room temp, covered until it doubles in size.
- Turn the proofed dough out onto lightly floured surface. Portion the dough into desired number of pieces, ensuring they are equal in size. Cover to ensure they don't dry out.
- Take each piece of dough and repeat the stretching and folding motion Rotate, repeating the motion, until a ball has formed. Place on a lined tray as is or roll each piece of dough into a long skinny loaf to make subs.
- Place the rolled buns onto a tray lined with baking paper or silicone mat. Repeat with the rest of the dough. Allow space between each bun. Cover with a greased piece of plastic wrap and allow to rise until doubled, about an hour.
- Preheat the oven to 180°C/350°F degrees. When the buns are ready, bake them for 25 minutes or until golden. Remove from oven and place on heatproof surface.
- Cover with a dish / tea towel for 10 minutes. The steam will prevent the hard crust from forming and give a delicious soft exterior.
- Serve warm or let the buns cool before serving.
Notes
Nutrition
Nutritional information is only an estimate. The accuracy of the nutritional information for any recipe on this site is not guaranteed.
Did you make this recipe?
Please let us know how it turned out for you! Leave a comment below and tag @missmollymakes on Instagram and hashtag it #missmollymakes.

Hiya, I’m Lauren but you can call me Molly!
Former OR Nurse and self-taught home cook passionate about Approachable, No-Nonsense recipes to help you level up in the kitchen. Together with my husband Troy, we create simplified dishes for busy people with easy-to-find ingredients!
To learn more about us, our cooking show and more, click here!
— Recent Recipes —
- Banana Coconut & Pineapple (Hummingbird) Cupcakes with Cream Cheese Frosting
- Crispy Pork & Mushroom Dumplings

- Hunter’s Hearty Beef Pie
- Seared Beef Sushi / Aburi

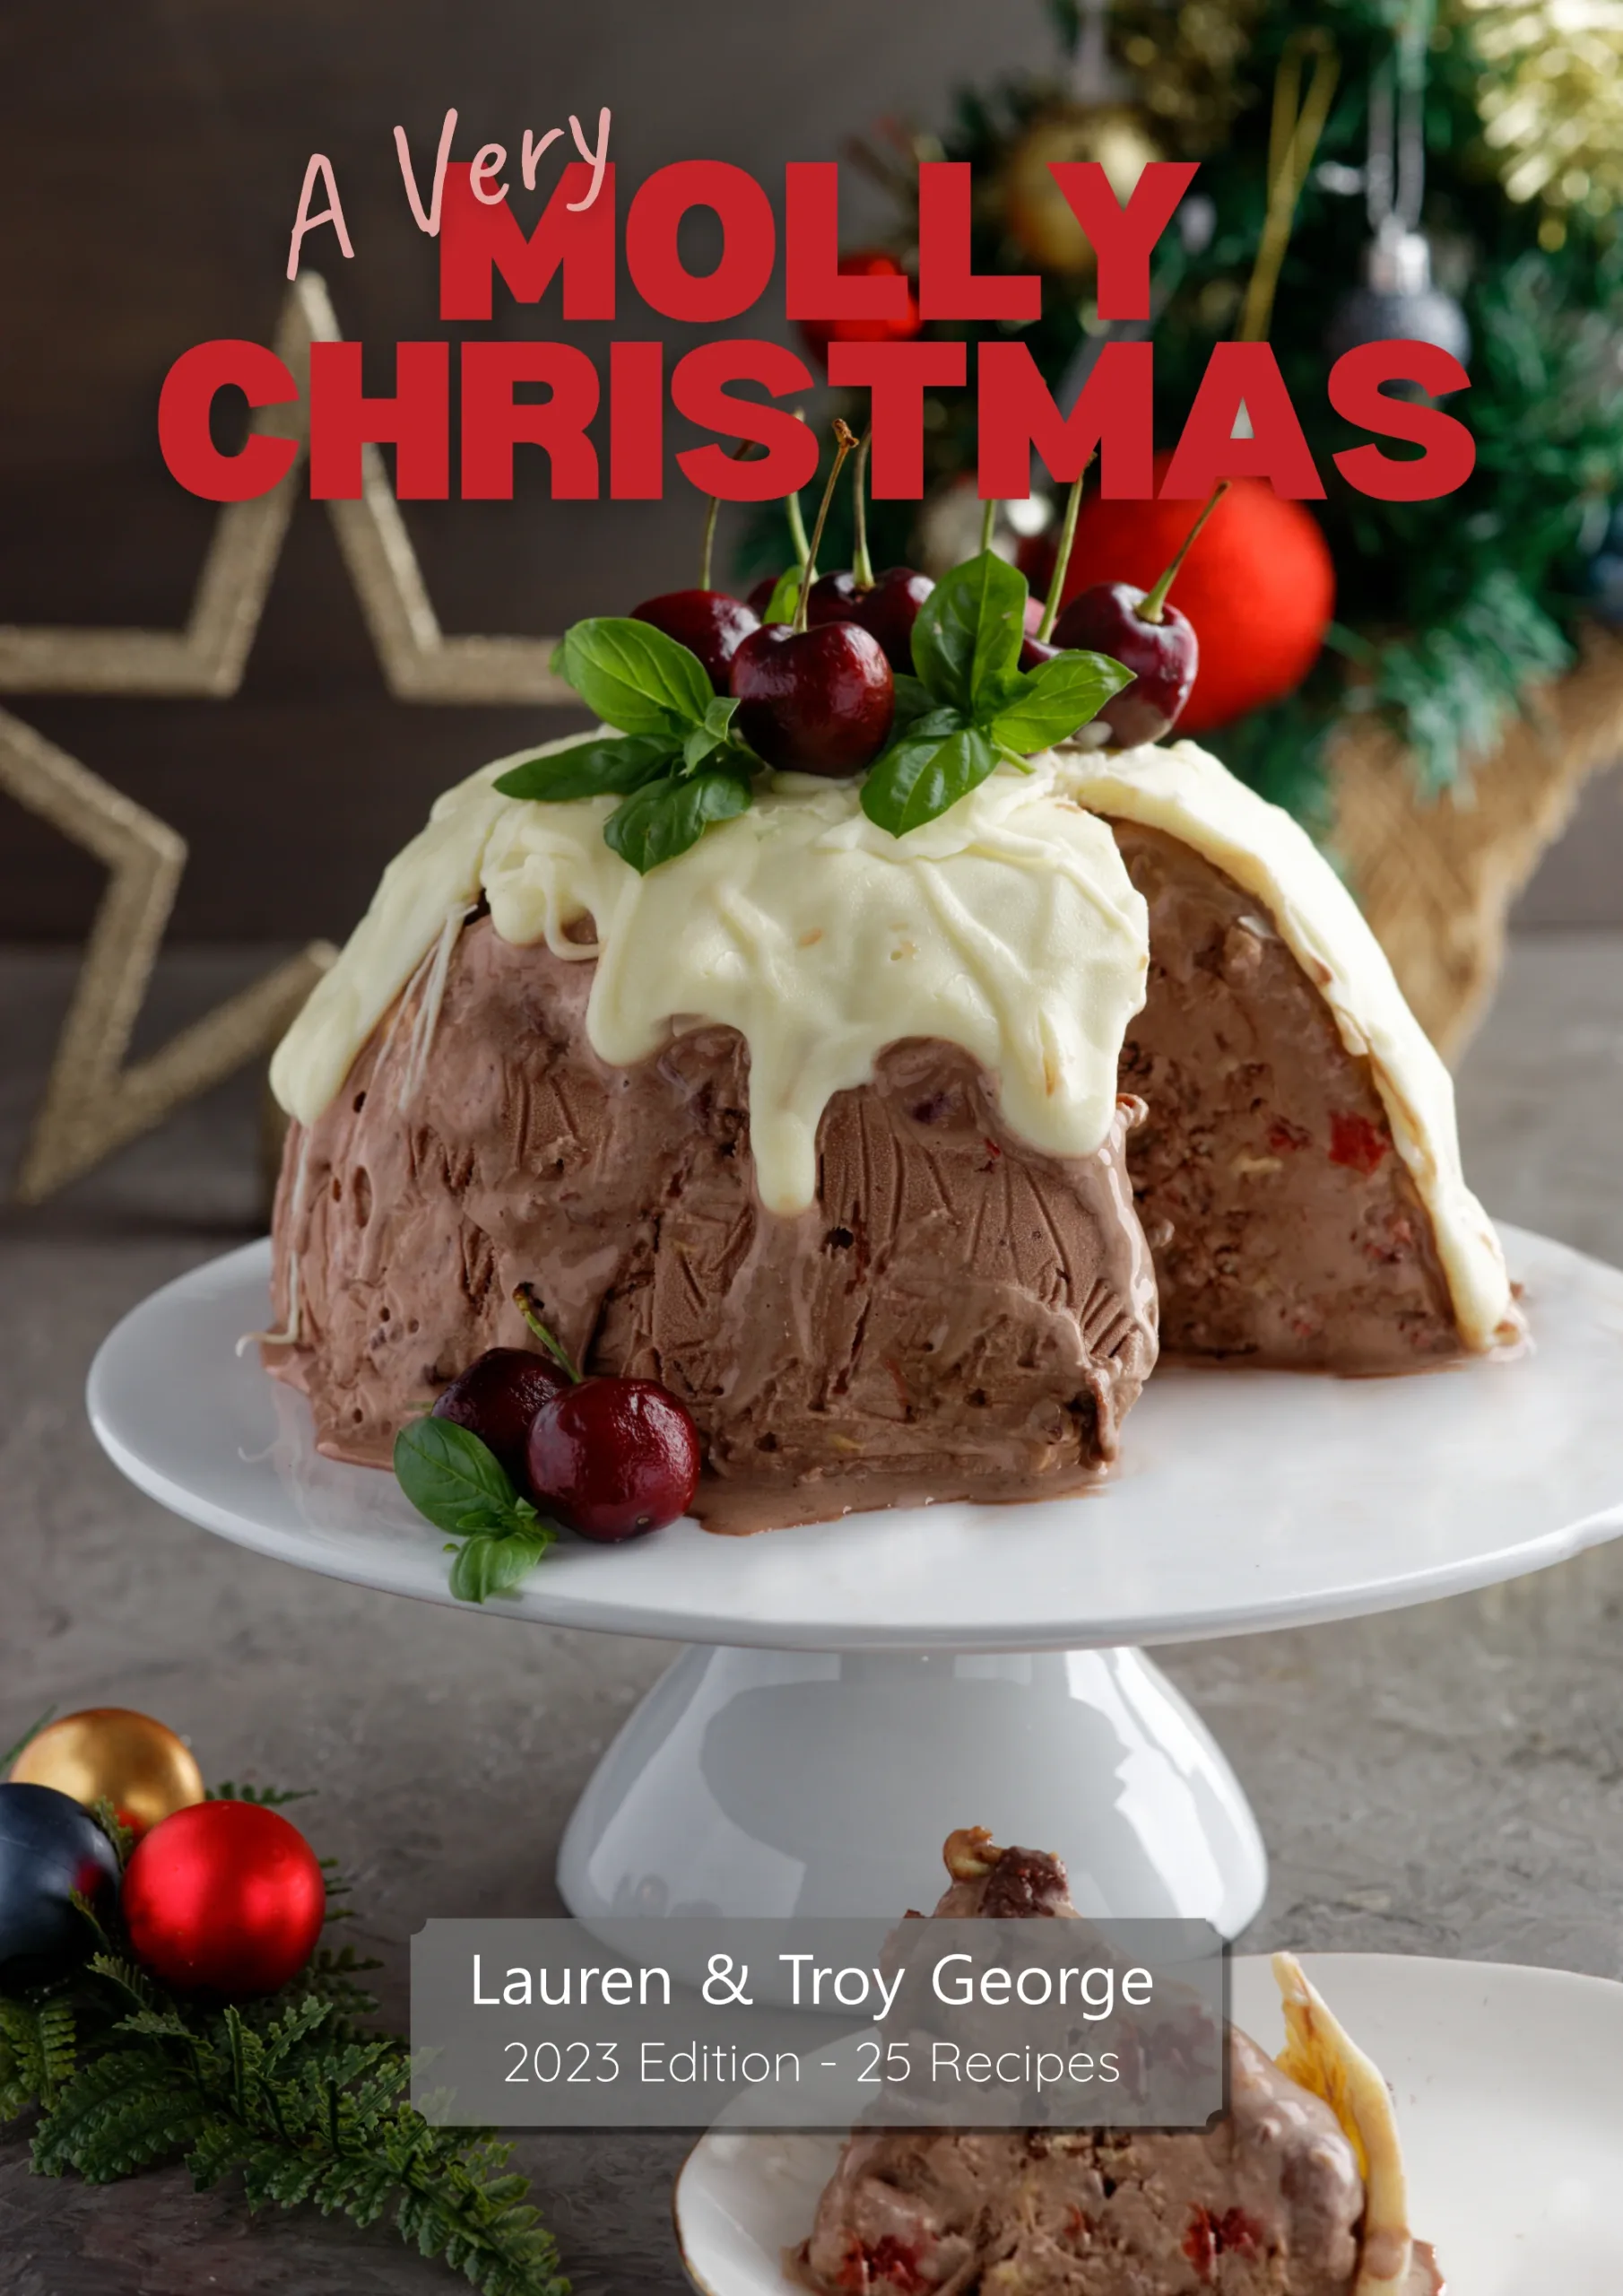
Our Latest ebook
It’s full of Aussie summer recipes, not just from Christmas!